Darts in sewing are like the secret sculptors of the fashion world, hidden within the fabric to create a tailored masterpiece.
These clever, tapered seams are the unsung heroes of dressmaking, allowing flat pieces of cloth to gracefully embrace the body’s contours.
Their purpose is twofold: to enhance fit and to add aesthetic structure. Darts provide a means to create shapely silhouettes by reducing excess fabric in key areas, such as the waist, bust, or hips.
Furthermore, they contribute to the garment’s overall style and design. Understanding the art of dart placement and execution is essential for any skilled seamstress or tailor, as it leads to clothing that fits like a second skin, combining both comfort and fashion.
What Is a Dart in Sewing?
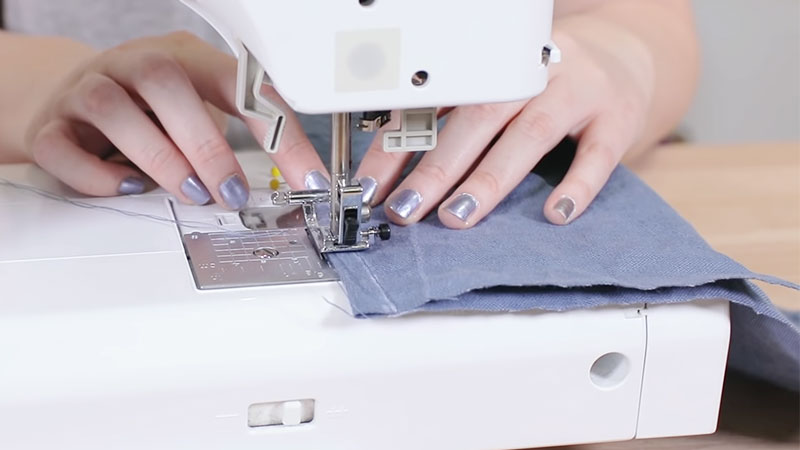
What are darts used for in sewing? Well, a dart in sewing is a tapered seam that is used to shape and contour fabric to fit the curves of the body.
They are typically stitched in areas where a garment needs to accommodate curves or reduce excess fabric, such as at the bust, waist, or hips.
Darts are a fundamental technique in dressmaking, enabling a better fit and a more tailored appearance. They provide structure to the garment, ensuring it drapes correctly and eliminates bagginess.
Darts are also used for stylistic purposes, enhancing the design and silhouette of clothing. Sewing patterns often include dart markings, and their proper placement and stitching are essential for achieving a well-fitted and professionally finished garment.
8 Reasons Why Are Darts Used in Sewing?
What is the purpose of darts in sewing? Well, darts are commonly used in sewing to create shape and fit in garments.
They are essentially tapered seams that allow a flat piece of fabric to be shaped to conform to the curves and contours of the human body.
Darts are essential in achieving a well-fitted garment and are a fundamental technique in sewing and dressmaking.
Here are the key reasons why are darts used in sewing clothes:
1. Creating Shape
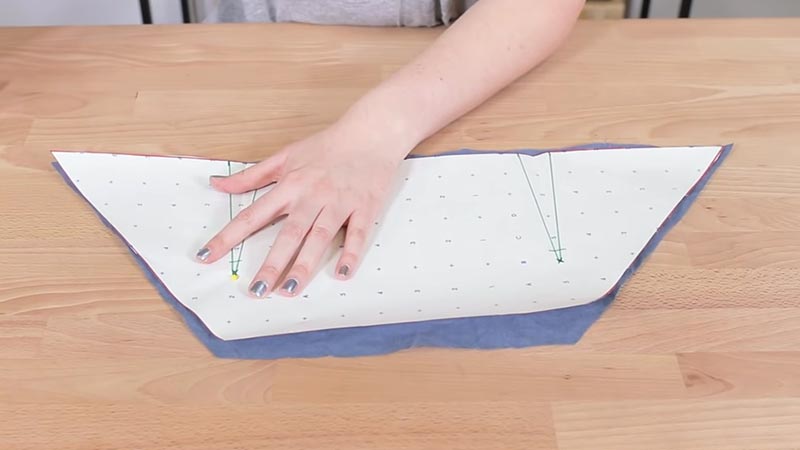
Darts are primarily used to add shape to a garment. They help to mold a flat piece of fabric into a three-dimensional form that fits the body.
By tapering the fabric at specific points, darts can create curves and contours, accommodating the bust, waist, and hip areas.
2. Providing a Better Fit
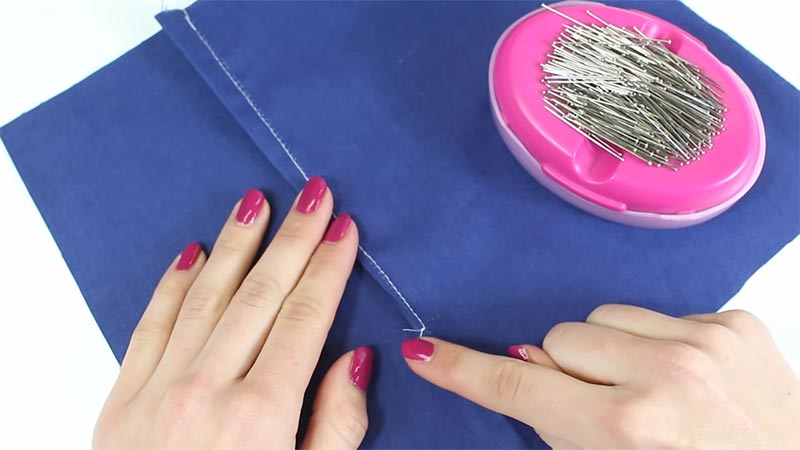
Garments with darts tend to fit better because they can be tailored to the individual’s body shape.
Darts help to eliminate excess fabric and prevent bagginess or looseness in areas where a snug fit is desired.
They are especially crucial in women’s clothing to accommodate differences in bust and hip sizes.
3. Enhancing Style
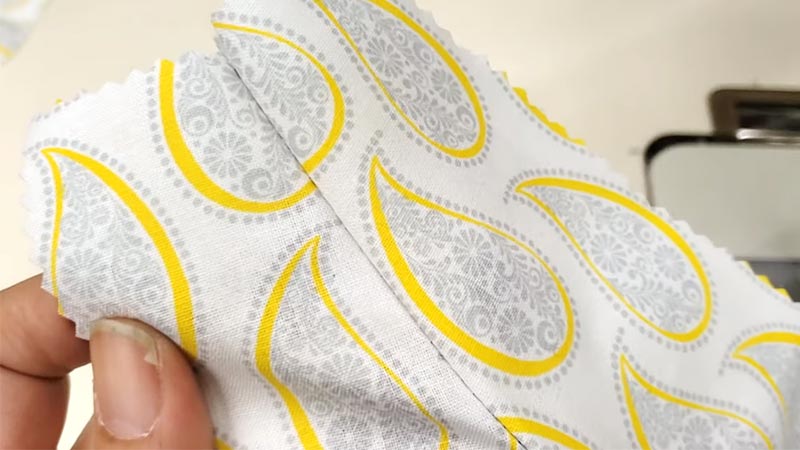
Darts can be used to create various style elements in clothing. For example, in women’s clothing, diagonal bust darts can give a more flattering shape to a bodice.
Similarly, back darts in men’s dress shirts help achieve a fitted look. They can also be used decoratively, adding unique design elements to a garment.
4. Controlling Fabric Volume
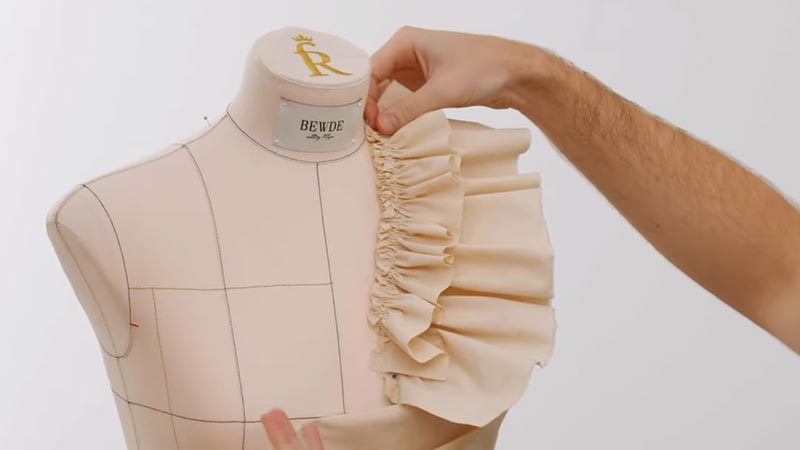
Darts are a way to control and manage excess fabric. They are used to reduce fullness in specific areas, such as the waist or hips.
This not only contributes to a better fit but also makes the garment more comfortable to wear.
5. Improving Garment Structure
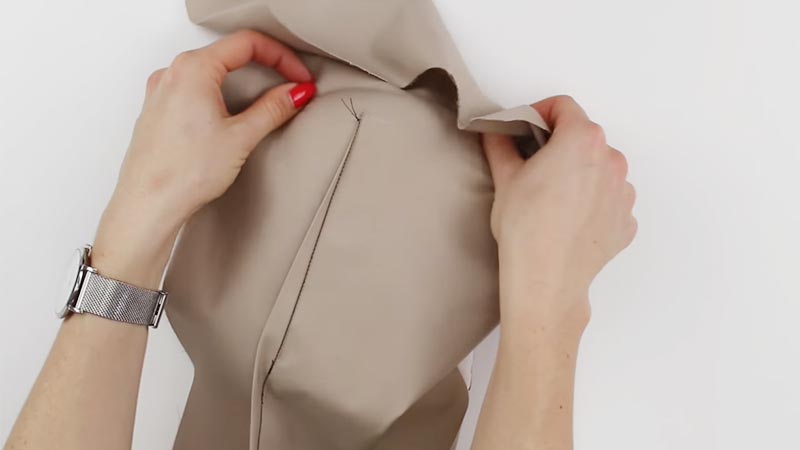
Darts are essential for tailoring and achieving a professional finish in sewing. They help maintain the structural integrity of the garment, ensuring that it drapes properly and doesn’t look loose or baggy in unintended areas.
6. Customization
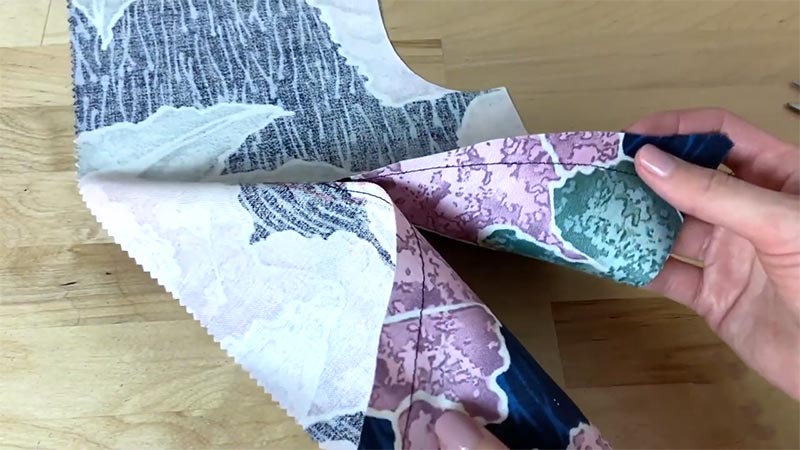
Darts allow for customization in sewing. When making clothing from patterns, darts can be adjusted to match an individual’s unique body shape and measurements. This level of customization is essential in creating a well-fitted and comfortable garment.
7. Patternmaking
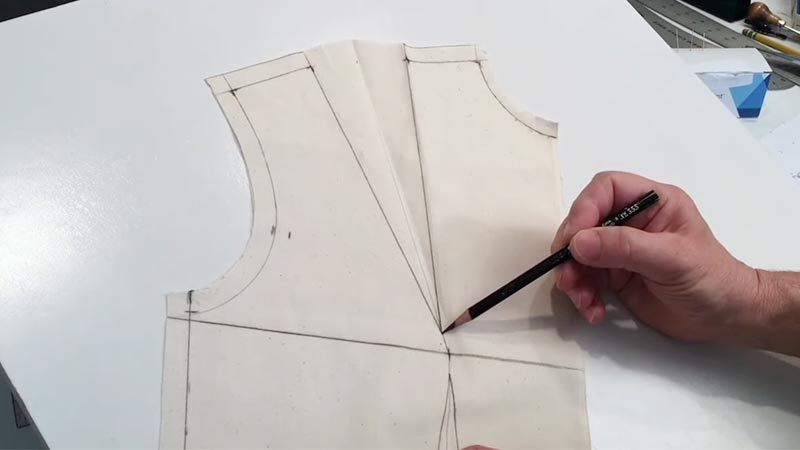
In the process of creating sewing patterns, darts play a pivotal role. Pattern makers use darts to convert two-dimensional patterns into three-dimensional garments. They provide the necessary information to cut and sew the fabric accurately.
8. Versatility
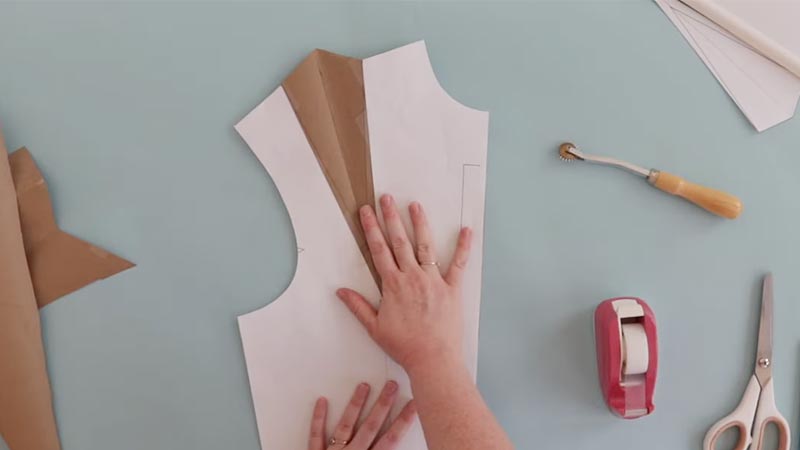
Darts are versatile and can be incorporated into various types of clothing, from dresses and blouses to pants and jackets. They can be placed strategically to address specific fitting issues and design goals.
Types of Darts in Clothing
Darts in clothing serve the dual purpose of enhancing fit and contributing to the garment’s style. They come in various shapes and locations, each designed to cater to specific fitting and design needs.
Here are some common types of darts in clothing:
Bust Darts
These darts are crucial for achieving a proper fit in women’s tops and dresses. They usually originate from the side seam and taper towards the bust point.
By accommodating the natural curve of the bust, they prevent fabric from gaping or pulling, ensuring a comfortable and flattering fit.
Waist Darts
Waist darts are often seen in fitted blouses and dresses. They start at the side seam or the waistline and taper inwards toward the waist area. These darts help shape the garment around the waist, creating a tailored and cinched look.
Hip Darts
Used in fitted skirts, pants, and dresses, hip darts are essential for accommodating the curvature of the hips.
Typically positioned at the side seams, they create a smooth and flattering silhouette, preventing fabric from bunching at the hip area.
Shoulder Darts
Commonly found in tailored jackets and blouses, shoulder darts shape the garment around the shoulders. They ensure a snug fit in this area, providing comfort and allowing for ease of movement.
French Darts
These diagonal darts originate from the side seam and taper towards the bust point, creating a more flattering shape for the bodice.
French darts are often used in women’s clothing, providing both fit and a touch of elegance to the design.
Back Darts
Back darts are a staple in men’s dress shirts and some women’s blouses. Running vertically down the center of the back, they give the garment a more tailored and slimming appearance by removing excess fabric.
Double-point Darts
Used in tailored jackets and blazers, double-point darts have two points at each end. These darts address both the bust and waist, providing a more refined and structured fit.
Diamond Darts
In garments where multiple fitting needs intersect, such as at the bust, waist, and hip, diamond darts are employed.
These darts have a diamond-shaped pattern, accommodating various body contours to achieve a tailored look.
Yoke Darts
Typically found in the yoke area of shirts and dresses, yoke darts help shape the fabric around the shoulders and upper back. They create a more precise and flattering fit in this area.
Neck Darts
Neck darts are used to shape the neckline area for a better fit, often seen in collared shirts and blouses. These darts ensure that the collar and neckline lay flat and snug against the neck, avoiding gaping or discomfort.
How to Sew a Dart for Beginners?
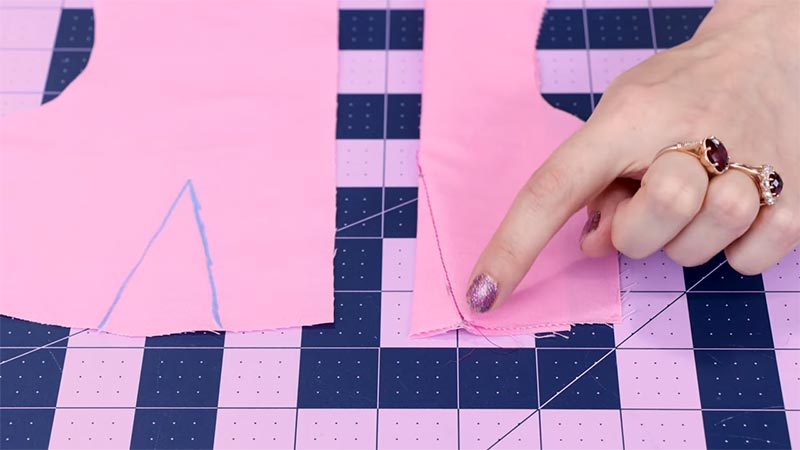
Sewing a dart is a fundamental skill in dressmaking and tailoring, essential for achieving a well-fitted garment.
Darts are tapered seams used to contour fabric to the body’s curves, providing shape and structure. Here’s a step-by-step guide for beginners:
Materials You’ll Need:
- Fabric
- Sewing machine (or hand-sewing needle)
- Thread
- Pins or clips
- Fabric marking tool (chalk or disappearing ink pen)
- Ruler or measuring tape
Steps:
Prepare Your Fabric
Begin by selecting your fabric and cutting out the pattern pieces. Lay the fabric flat and identify the points where you need to sew darts.
Use your fabric marking tool to mark these points, ensuring they are on the wrong side of the fabric. These marks indicate where the dart will start and end.
Fold the Fabric
With the fabric right sides together, fold it along the center of the dart, aligning the two dart leg marks.
The fold should create a triangular shape with the dart legs on either side. This fold is the guideline for sewing the dart.
Pin or Clip
Use pins or fabric clips to secure the fold and ensure that the dart’s legs match perfectly. Pin or clip along the dart line to keep the fabric layers in place while sewing. Place pins or clips perpendicular to the dart fold to prevent shifting.
Stitching the Dart
Set up your sewing machine with a straight stitch. Adjust the stitch length to approximately 2.5mm.
Start sewing at the wider end of the dart (the base) and backstitch a few stitches to secure the seam.
Sew along the marked dart line, ensuring that you sew directly on the line. As you sew, gradually taper the stitch line towards the apex (the narrowest point).
Securing the Dart
When you reach the apex, leave long thread tails. Tie the thread tails in a knot to secure the end of the dart.
Trim any excess thread. This ensures that the dart won’t come undone and that it lies flat against the fabric.
Press the Dart
To create a clean, crisp finish, press the dart using an iron. Open the fabric and press the dart flat, with the wider end at the base. Use the iron’s steam setting to help set the dart and eliminate any wrinkles.
Repeat as Necessary
If your pattern includes multiple darts, such as bust or waist darts, repeat the process for each one. Ensure that they are evenly spaced and symmetrical on your garment for a polished, professional look.
How to Sew a Dart by Hand?
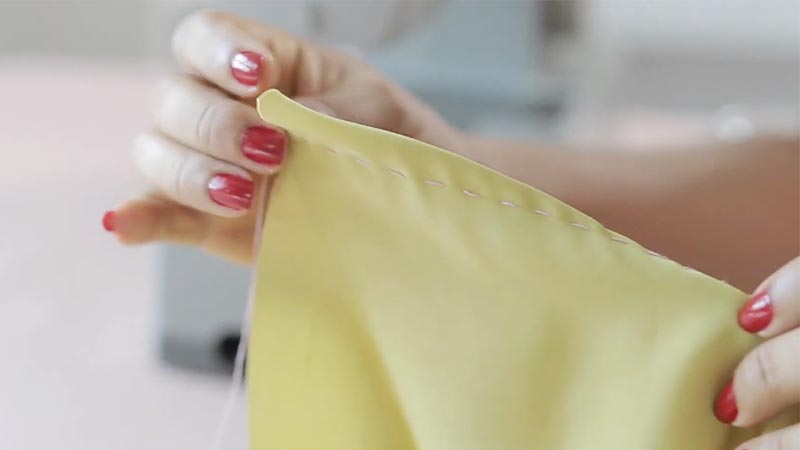
Sewing a dart by hand is an essential skill in the world of dressmaking and tailoring. Darts are used to shape fabric and create a three-dimensional form, such as contouring around the curves of the body.
Whether you’re creating a dress, a skirt, or a blouse, here’s a step-by-step guide on how to sew a dart by hand.
Materials You’ll Need:
- Fabric
- Needle
- Thread
- Pins
- Scissors
- A marking tool (like tailor’s chalk or a fabric pen)
- Ruler or measuring tape
- An iron and ironing board
Step 1: Prepare Your Fabric
Begin by selecting your fabric and ensuring it is cut according to your pattern’s instructions. To make the sewing process easier, iron the fabric to remove any wrinkles or creases. A smooth fabric surface is key to a neat finish.
Step 2: Mark the Dart
Lay your fabric flat on your work surface with the wrong side facing up. Use a ruler or measuring tape to find the starting point of the dart, as indicated in your pattern.
Normally, darts begin at or near the waistline or bust point. Using your marking tool, make a small, precise mark at the starting point.
Step 3: Pin the Dart
Fold the fabric along the center of the dart, aligning the two legs of the dart on top of each other, with the wrong sides of the fabric facing each other.
Secure this folded dart with pins, making sure to place them perpendicular to the fold. The pins should be parallel to the stitching line of the dart.
Step 4: Thread Your Needle
Thread your needle with a single strand of thread that matches the fabric you’re working with. A thread that’s too thick can add bulk, while a thin thread may not be strong enough.
Step 5: Start Sewing
Begin your stitching at the marked starting point. Insert the needle from the inside of the fabric, ensuring that the knot is on the wrong side.
Utilize small, even backstitches along the marked stitching line, following the instructions provided by your pattern. Keep your stitches neat and evenly spaced.
Continue sewing along the entire length of the dart, gradually tapering your stitches as you approach the dart’s tip.
This tapering will create a smooth and gradual transition. When you reach the tip, take a few small backstitches to secure the end of your work.
Step 6: Knot and Finish
Knot the thread on the wrong side of the fabric to secure your stitching. Trim any excess thread and carefully remove the pins.
Step 7: Press the Dart
For a polished and professional finish, gently press the dart. Use an iron set to the appropriate temperature for your fabric, and press the dart flat. Remember to work from the wrong side of the fabric.
Step 8: Repeat as Needed
If your garment requires multiple darts, simply repeat the above steps for each additional dart.
How to Make a Dart Sewing?
Creating a dart in sewing is a technique used to add shape and structure to a garment, particularly in areas like the bust, waist, and hips.
Darts are typically triangular or wedge-shaped folds of fabric that are stitched down to contour the fabric to the body’s curves.
Here’s a step-by-step guide on how to make a dart in sewing:
Materials You’ll Need:
- Fabric
- Sewing machine or needle and thread
- Pins
- Fabric marker or chalk
- Ruler or sewing gauge
- Iron and ironing board
Steps to Create a Dart:
Prepare Your Fabric
Start by washing and pressing your fabric to remove any wrinkles and ensure it’s clean. Lay your fabric on a flat surface with the right sides facing each other if you’re working on a garment.
Mark the Dart
Use a fabric marker or chalk to mark the center of the dart. This is typically where the highest point of the dart will be.
If you’re working on a garment pattern, the dart lines will usually be indicated on the pattern piece.
Mark the Dart Legs
Measure and mark the two legs of the dart. The dart legs are the two lines that extend from the center of the dart to the edge of the fabric.
The length of these legs will depend on your pattern’s instructions, and it’s important to be accurate in your measurements.
Create Dart Folds
Fold the fabric along one of the dart leg lines, ensuring that the right sides of the fabric are together. Pin the fold in place to secure it. The other dart leg will remain flat. This creates a triangular fold of fabric, which is the dart.
Stitch the Dart
Using a sewing machine or hand stitching, sew along the dart leg lines starting at the wide end (at the edge of the fabric) and ending at the narrow end (at the center mark).
Use a regular stitch length and backstitch at the beginning and end to secure the stitching. Be sure to remove the pins as you go.
Press the Dart
After sewing the dart, press it with an iron to set the stitches and flatten the seam. If you’re working on a garment with a lining, press the seam allowances toward the center or as indicated in your pattern.
Repeat for Multiple Darts
If your pattern requires more than one dart, repeat the process for each dart. Ensure that the measurements and placements are consistent.
Finish the Dart Ends
Some patterns may require you to trim or finish the ends of the dart for a clean look. You can trim excess fabric and finish the seam allowance with a serger or a zigzag stitch if needed.
FAQS
What are the uses of darts in clothing?
Darts in clothing serve two primary purposes. First, they enhance the fit of a garment by contouring fabric to the body’s curves, such as the bust, waist, and hips. Second, they contribute to the garment’s style, adding design elements and structure.
What is “darts clothing”?
“Darts clothing” refers to garments, especially in dressmaking and tailoring, that incorporate darts to achieve a well-fitted, structured, and stylish look. Darts are integral to shaping and tailoring clothing.
How are darts used in tailoring?
In tailoring, darts are employed to customize and fine-tune the fit of clothing.
Tailors strategically place darts to eliminate excess fabric and create a tailored silhouette, ensuring that the garment drapes properly and looks well-fitted.
Can I hand sew darts in clothing?
Yes, you can hand sew darts in clothing. Hand-sewn darts are common for small alterations and customizations.
Last Words
In garment creation, darts stand as silent artisans, shaping and sculpting fabrics into forms that embrace the human body.
Their significance in sewing cannot be overstated. Darts serve as the bridge between two dimensions, converting flat textiles into dynamic, tailored clothing.
They masterfully enhance fit, offering comfort and confidence, while simultaneously contributing to the aesthetics of design.
Understanding the art of dart placement and execution is the cornerstone of creating clothing that not only clings to the body’s contours but also elevates personal style.
Darts exemplify the marriage of function and fashion, epitomizing the synergy of form and function in the world of sewing and dressmaking.
Leave a Reply