Fabric puckering during sewing can be a perplexing challenge for both beginners and experienced sewists.
This phenomenon, characterized by unwanted folds or wrinkles along the seamline, can mar the appearance of even the most meticulously planned projects.
Understanding the underlying reasons behind fabric puckering is crucial for achieving professional-grade results.
Several factors, ranging from thread tension and needle choice to fabric type and machine settings, contribute to this issue.
By delving into the intricacies of sewing, one can uncover the techniques and adjustments needed to minimize or altogether eliminate fabric puckering, unlocking a smoother, more gratifying sewing experience.
What Is Pucker in Sewing?
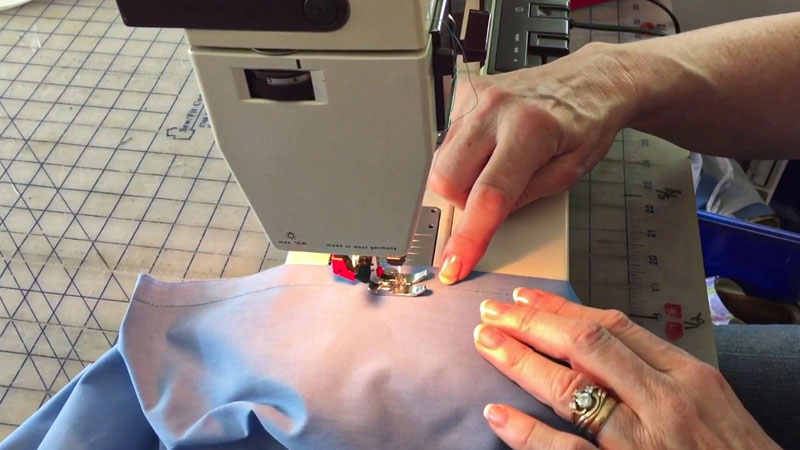
In sewing, a “pucker” refers to a small, unwanted fold, wrinkle, or gathering of fabric that occurs along a seamline.
It’s an irregularity in the smoothness of the fabric caused by various factors, such as incorrect tension settings on the sewing machine, improper handling of the fabric, or using the wrong type of needle or thread.
Puckering can be particularly noticeable in delicate or lightweight fabrics, but it can happen with any type of fabric.
It can detract from the overall appearance and quality of a sewing project, which is why sewists aim to avoid it.
Preventing puckering involves using appropriate sewing techniques and ensuring that all elements of the sewing process are correctly adjusted, such as thread tension, needle type, stitch length, and fabric handling.
When done correctly, it results in a smooth and even seam that enhances the overall look of the finished garment or project.
Why Does My Fabric Pucker When I Sew?
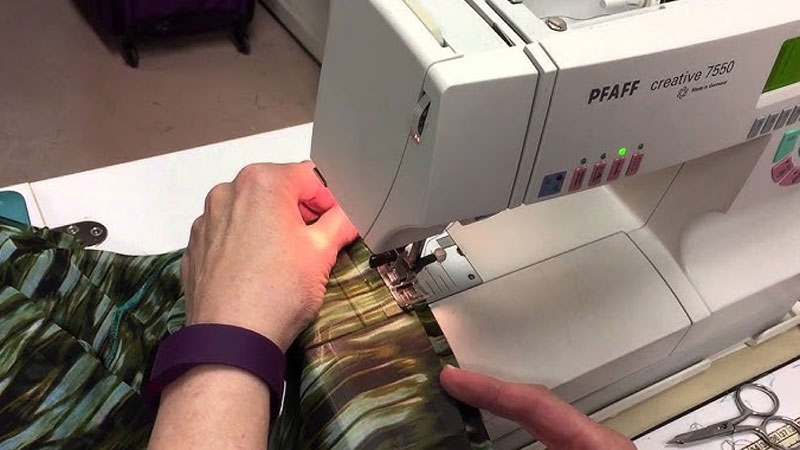
Fabric puckering when you sew can be a common frustration for both novice and experienced sewists.
This phenomenon occurs when the fabric bunches or wrinkles along the seamline, creating an undesirable and unprofessional finish.
Understanding why fabric puckers when you sew is crucial for achieving smooth and professional-looking sewing projects.
Several factors can contribute to fabric puckering, and here are some of the key reasons:
Tension Issues
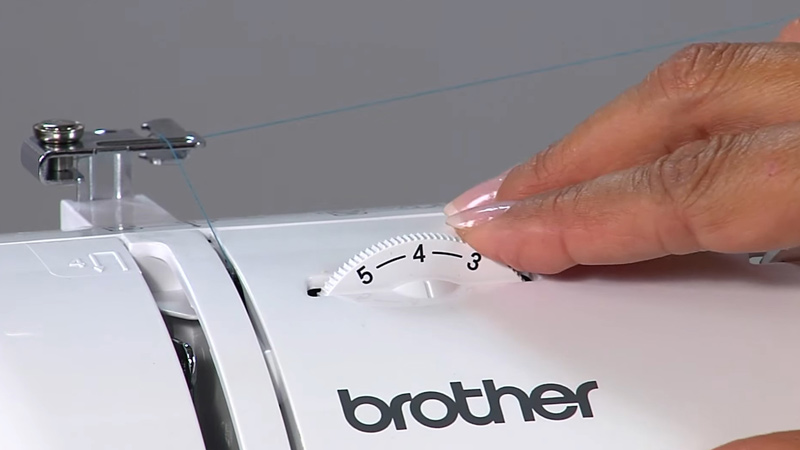
One of the primary reasons for fabric puckering is tension problems with your sewing machine. The upper and lower thread tensions need to be balanced correctly.
If the upper thread tension is too tight or the lower thread tension is too loose, it can cause the fabric to pucker.
Conversely, if the upper thread tension is too loose or the lower thread tension is too tight, it can also lead to puckering.
Needle Choice
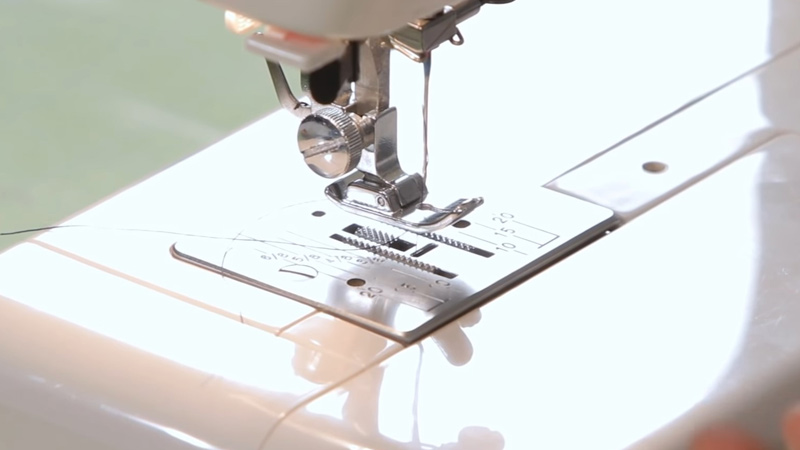
Using the wrong type or size of needle for your fabric can lead to puckering. A blunt or damaged needle can pull and stretch the fabric fibers, causing puckers.
Additionally, the needle size should be appropriate for the weight and type of fabric you are sewing.
Using a finer needle for delicate fabrics and a heavier needle for thick fabrics can help prevent puckering.
Fabric Type
Different fabrics have varying degrees of susceptibility to puckering.
Lightweight and loosely woven fabrics, such as chiffon, organza, and silk, are more prone to puckering because their fibers can shift easily.
To minimize puckering, use a fine needle, stabilize the fabric with interfacing or stabilizers, and handle the fabric delicately during sewing.
Incorrect Stitch Length
Using an incorrect stitch length can also contribute to fabric puckering.
If your stitches are too short for the fabric you are sewing, it can cause the fabric to gather along the seam.
Conversely, overly long stitches may not secure the fabric properly, leading to puckering. Adjusting the stitch length according to the fabric type can help prevent this issue.
Sewing Machine Settings
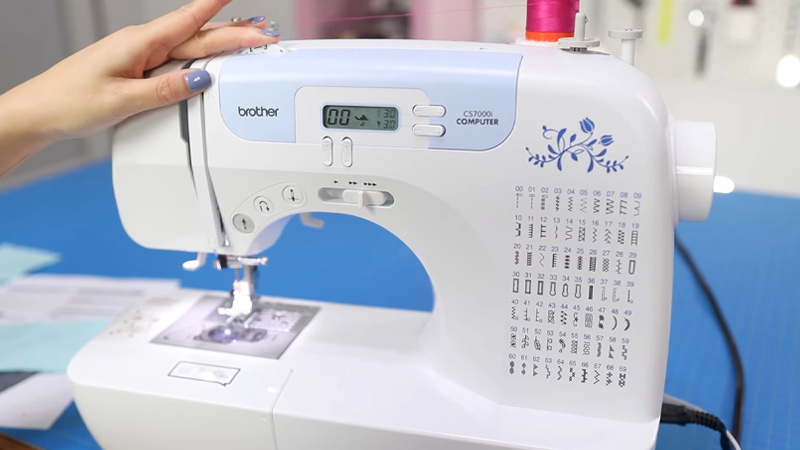
Sometimes, the settings on your sewing machine may not be properly adjusted for the fabric you are using. Be sure to check the presser foot pressure, feed dog settings, and presser foot tension.
Experimenting with these settings while sewing on a scrap piece of fabric can help you find the right combination to prevent puckering.
Handling and Feeding
The way you handle and feed the fabric through the machine can also affect whether puckering occurs.
Pulling or pushing the fabric forcefully can cause tension issues, leading to puckers. To prevent this, guide the fabric gently, ensuring it feeds evenly through the machine.
Lack of Proper Preparation
Properly preparing your fabric before sewing is essential. Pre-washing, ironing, and using fabric stabilizers or interfacing when necessary can prevent puckering.
Pre-washing helps remove any sizing or shrinkage, and ironing ensures that the fabric is flat and smooth before sewing.
Lack of Practice
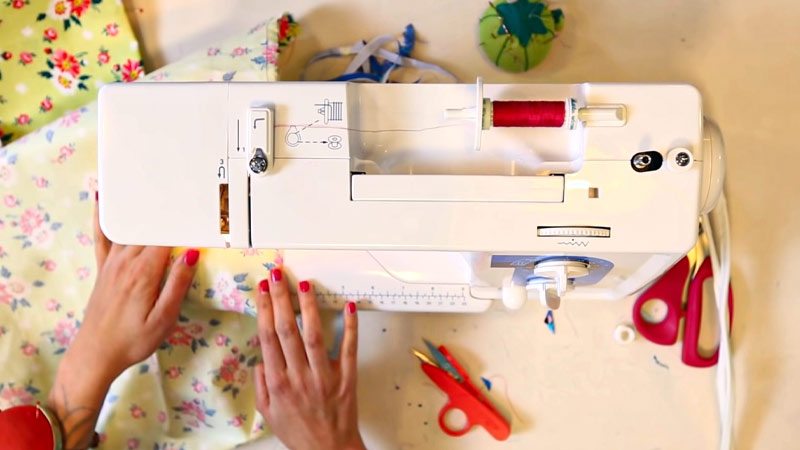
Inexperienced sewers may experience puckering simply due to a lack of practice.
With time and experience, you’ll become more adept at controlling fabric movement and achieving smooth seams.
Uneven Fabric Layers
When sewing multiple layers of fabric together, it’s important to ensure that they are aligned evenly. If one layer is slightly longer or shorter than the others, it can lead to puckering.
Take care to match up the edges of the fabric layers and use pins or clips to secure them in place.
How Do I Fix Puckering When Sewing?
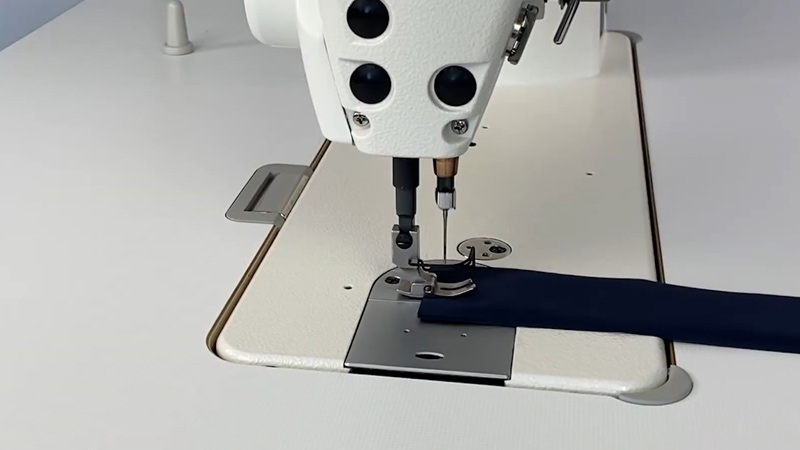
Fixing puckering when sewing can be frustrating, but it’s important to address the issue to achieve a professional finish on your sewing projects.
Here are some steps you can take to fix puckering when sewing:
Check Thread Tension
Ensure that your sewing machine’s thread tension is properly adjusted. If the upper thread tension is too tight, it can cause puckering.
Experiment with different tension settings on a scrap piece of fabric until you achieve a balanced tension.
Remember that lightweight fabrics may require looser tension, while heavier fabrics need tighter tension.
Use the Right Needle
Make sure you’re using the correct type and size of needle for your fabric.
A fine needle is suitable for lightweight fabrics like silk and chiffon, while a thicker needle is better for heavy fabrics.
A ballpoint or stretch needle is ideal for knit fabrics. Replace your needle if it’s dull or damaged.
Choose the Appropriate Thread
Select a thread that matches the weight and type of fabric you’re sewing. Using a thicker or heavier thread than necessary can lead to puckering.
Adjust Stitch Length
Modify the stitch length to suit your fabric. Shorter stitches may cause puckering on delicate fabrics, so try lengthening the stitch if you’re experiencing puckers. Conversely, use shorter stitches for heavy or thick fabrics.
Use a Stabilizer
Lightweight or loosely woven fabrics may benefit from using a stabilizer or lightweight interfacing on the seam allowance. This can help prevent puckering by providing stability to the fabric.
Proper Fabric Handling
Be gentle when guiding the fabric through the machine. Avoid pulling or pushing the fabric forcefully, as this can create tension issues.
Let the feed dogs and machine’s mechanisms do the work.
Pressing
After sewing, press the seam with an appropriate iron temperature and use steam if necessary.
Pressing can often help flatten out minor puckers. Make sure to press along the grain of the fabric to avoid further distortion.
Use Teflon Foot
In some cases, using a walking foot or Teflon foot can help feed the fabric more evenly, reducing the chances of puckering.
Practice on Scrap Fabric
If you’re working with a new fabric or technique, practice on a scrap piece first to adjust your settings and techniques without risking your main project.
Experiment and Learn
Sewing is a skill that often requires experimentation and learning from your mistakes.
If you encounter puckering, take note of the fabric type, settings, and techniques you used so you can improve in the future.
How Can I Fix Fabric Puckering After Sewing?
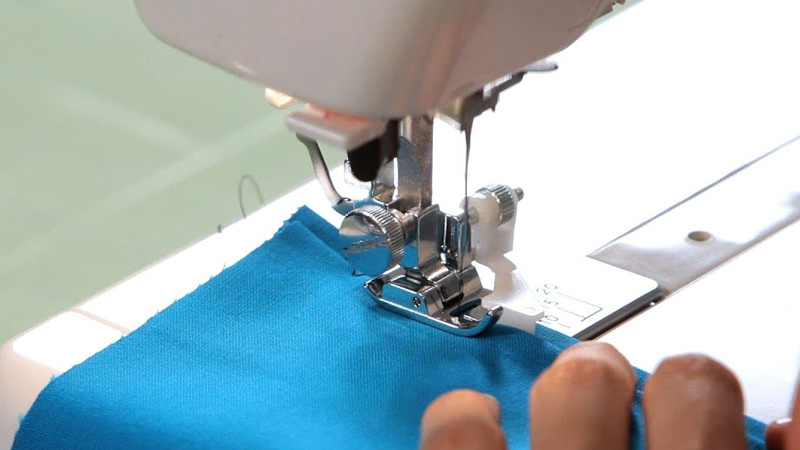
If you’ve already finished sewing a seam and noticed fabric puckering, you can take steps to fix it, depending on the severity of the puckering.
Here are some techniques to address fabric puckering after sewing:
Press the Seam
Gently press the puckered seam with a hot iron. Start by pressing on the wrong side of the fabric to help release tension in the stitches.
Then, flip the fabric to the right side and press again. Use steam if necessary to help flatten the fabric.
Steam with Water
Steam or lightly spray the puckered area with water and press it again. This can relax the fabric fibers and help smooth out the puckering.
Use a Pressing Cloth
Place a pressing cloth (such as a clean piece of fabric or a pressing ham) over the puckered area before pressing.
This prevents direct contact between the iron and the fabric, reducing the risk of damaging the fabric while still applying heat.
Re-Stitch the Seam
If the puckering is severe and pressing doesn’t fully resolve it, you may need to re-stitch the seam.
Before doing this, check the tension settings on your sewing machine and make sure you’re using the correct needle and thread for the fabric.
Then, carefully rip out the existing seam with a seam ripper and re-sew it, making sure to guide the fabric evenly.
Trim Seam Allowances
If the puckering is caused by bulky seam allowances, trim them down to reduce excess fabric bulk.
Be careful not to trim too close to the stitches, as you don’t want to weaken the seam.
Use Decorative Stitch
If the fabric allows, you can add a topstitch or decorative stitch over the puckered seam. This can help hide minor puckering and add a decorative element to your project.
Work with the Grain
Check if the puckering is due to sewing against the fabric grain. If so, gently ease the fabric back into the correct grain direction, press, and steam if needed.
Practice Improved Techniques
Learn from your mistakes and practice improved sewing techniques to prevent future puckering.
This includes maintaining proper thread tension, using the right needle and thread, and handling the fabric gently.
FAQS
What causes fabric puckering when I sew?
Fabric puckering can be caused by various factors, including incorrect thread tension, using the wrong needle, or sewing with the wrong stitch length for the fabric type.
How can I prevent fabric puckering when sewing?
You can prevent puckering by adjusting your sewing machine’s tension settings, using the appropriate needle and thread, and handling the fabric gently during sewing.
Why does puckering occur more often with delicate fabrics?
Delicate fabrics, like chiffon or silk, are more prone to puckering due to their lightweight and easily shifted fibers.
Can fabric puckering be fixed after sewing is complete?
Yes, minor puckering can often be fixed by pressing the seam or using steam to relax the fabric. More severe puckering may require re-stitching the seam.
Are there specific sewing machine settings to prevent fabric puckering?
Proper thread tension, stitch length, and using the appropriate presser foot for the fabric can help prevent puckering.
To Wrap Up
Unraveling the mystery of fabric puckering in sewing is essential for achieving impeccable results.
This vexing issue often arises from a delicate interplay of variables like thread tension, needle selection, and fabric type.
With practice, one can master the art of balancing these elements to prevent puckering.
Armed with knowledge and a discerning eye, sewists can transform their creations from wrinkled frustrations to polished works of art.
Every misstep is an opportunity to learn and refine skills, ultimately leading to a more enjoyable and rewarding sewing journey.
So, with diligence and attention to detail, you can conquer fabric puckering and create beautifully crafted garments and projects.
Leave a Reply