Experiencing a jammed bobbin during sewing can be a vexing obstacle. It disrupts the flow of a project and can leave even experienced sewers scratching their heads.
Understanding the underlying reasons behind bobbin jams is crucial for effective troubleshooting.
From incorrect placement to thread tension issues, several factors can contribute to this frustrating problem.
Identifying these potential culprits empowers sewers to take targeted steps toward resolution.
In this guide, we’ll delve into the various causes of bobbin jams, providing detailed insights and practical solutions to help you overcome this common sewing machine dilemma.
With the right knowledge and techniques, you’ll be back to seamless stitching in no time.
What Is a Bobbin in the Sewing Machine?
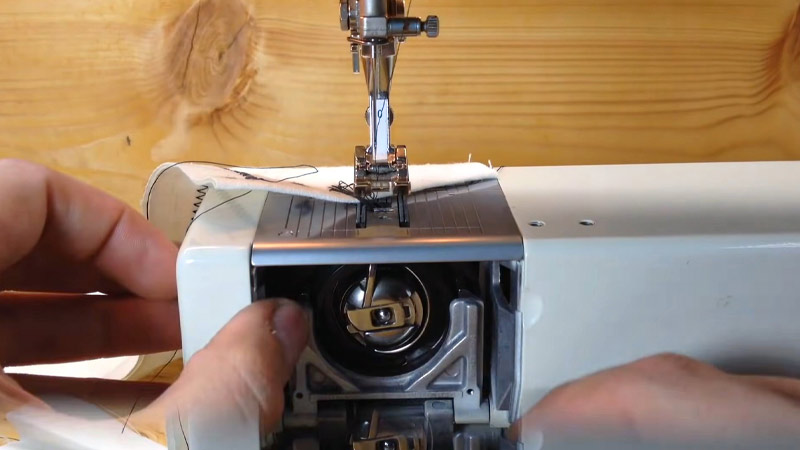
A bobbin is a fundamental component of a sewing machine, playing a pivotal role in the stitching process. It is a small, typically metal or plastic spool that holds the lower thread in a sewing machine.
Positioned beneath the needle plate, the bobbin works in tandem with the upper thread to create a secure and balanced stitch.
As the sewing machine operates, the needle passes through the fabric, and its thread intertwines with the thread from the bobbin, forming a lockstitch. This interlocking of threads on both sides of the fabric ensures the seam’s stability.
Bobbins come in various sizes and styles to accommodate different sewing machines and projects, and they must be wound evenly to prevent thread tension issues and jams during sewing.
Why Is My Bobbin Jamming?

A jamming bobbin can be a frustrating issue when you’re trying to sew, and it can disrupt your sewing projects.
There are several reasons why a bobbin might jam, and understanding these can help you troubleshoot and fix the problem:
1. Incorrect Bobbin Placement
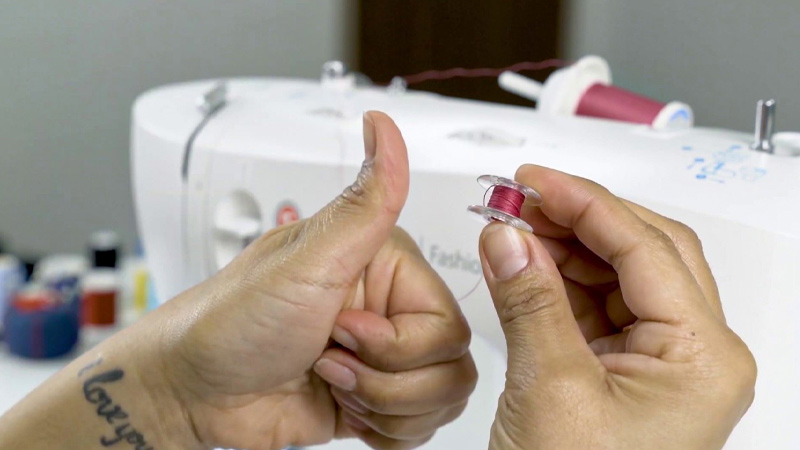
Ensure that you’re following the manufacturer’s instructions for inserting the bobbin.
It should fit snugly in its designated spot, with the thread unwinding in the correct direction. Improper placement can cause the thread to tangle and lead to jams.
2. Tangled Wound Thread
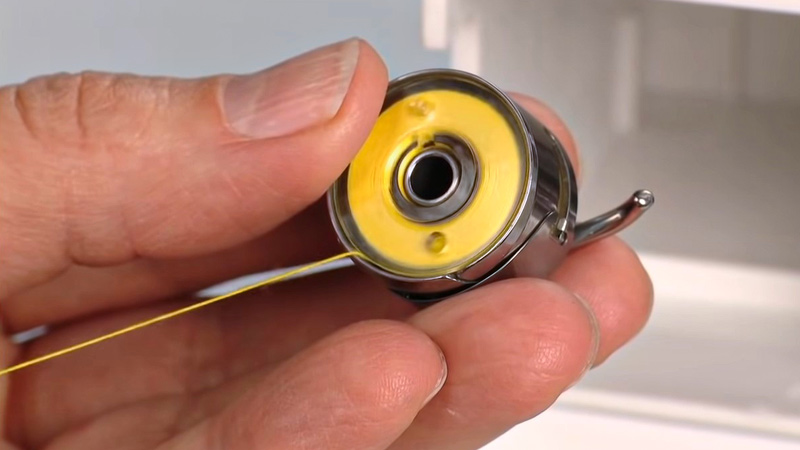
When winding the bobbin, make sure the thread is smoothly and evenly wound. Avoid overfilling the bobbin, as this can lead to uneven winding.
Also, ensure that the thread spool is mounted correctly and that there is consistent tension during winding.
3. Thread Tension Issues
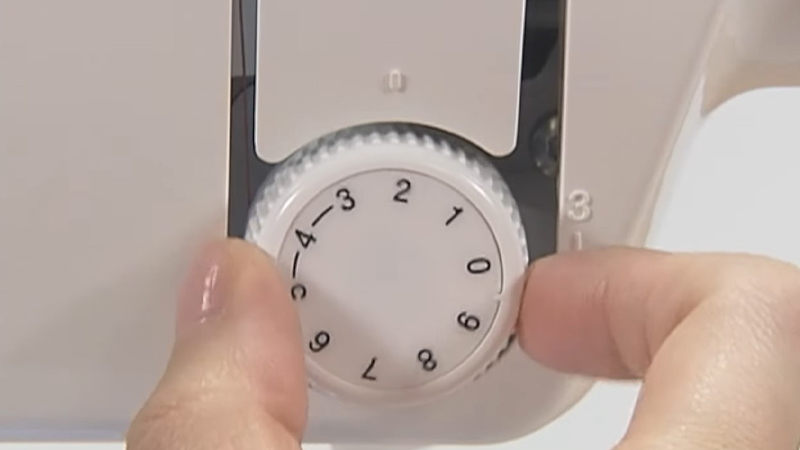
Check the tension settings on your sewing machine. If the upper thread tension is too high, it can exert excessive force on the bobbin thread, resulting in jams.
Conversely, if it’s too loose, the threads may not interlock properly.
4. Debris in the Bobbin Area
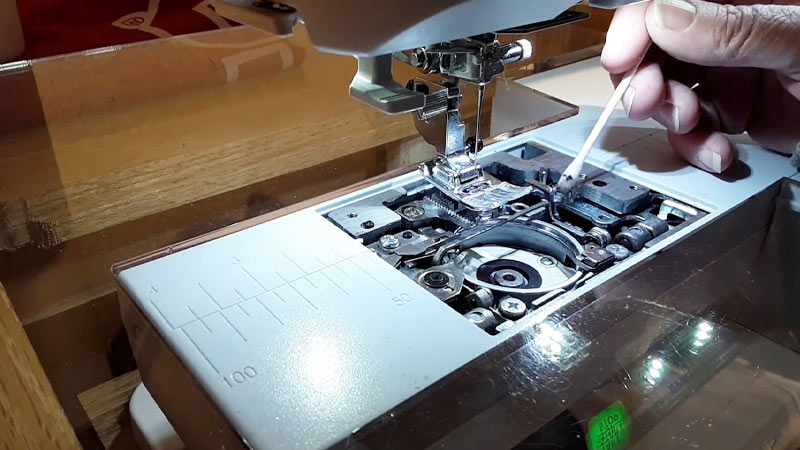
Regular maintenance is crucial. Use a small brush or a can of compressed air to remove any accumulated lint or debris from the bobbin area.
This should be part of your routine after each sewing project.
5. Wrong Bobbin Size
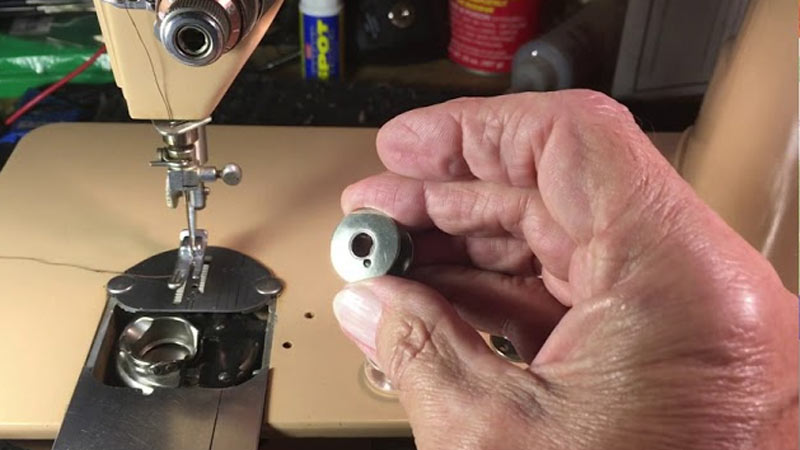
Consult your machine’s manual to determine the correct bobbin type and size. Using an incompatible bobbin can lead to irregular thread flow and bobbin jams.
Always ensure you’re using the right bobbin for your specific sewing machine model.
6. Bobbin Case Issues
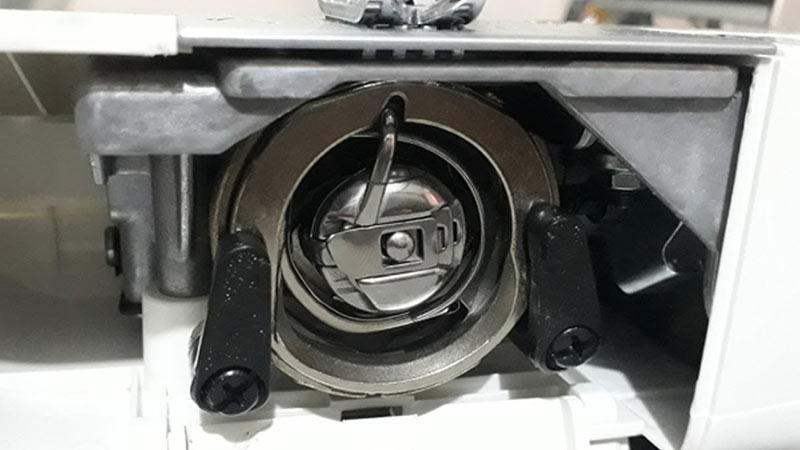
Inspect the bobbin case for any signs of damage or wear. Make sure it’s seated correctly in the machine and that there are no loose parts.
If you notice any issues, replace or repair the bobbin case as needed.
7. Needle Issues
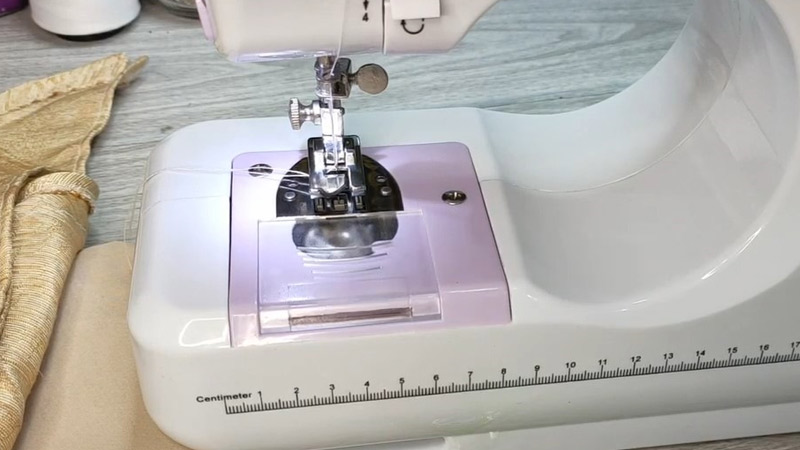
Regularly check the needle for signs of wear, bending, or damage. A damaged needle can snag on the fabric or bobbin thread, leading to jams. Replace the needle as soon as you notice any issues.
8. Timing Problems
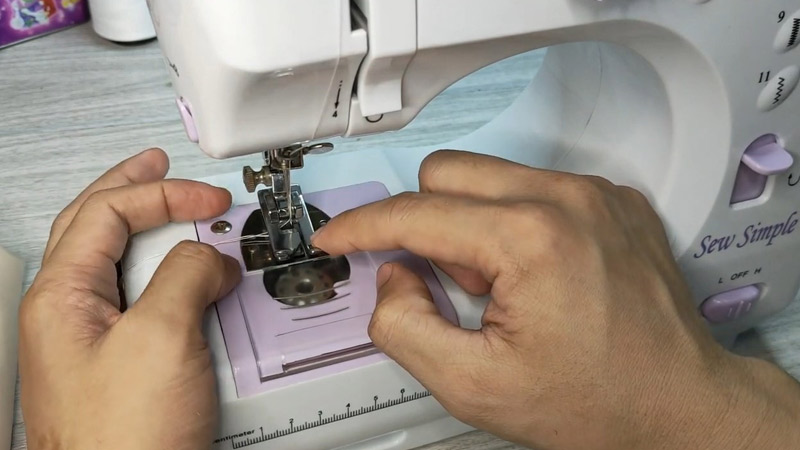
If you’ve exhausted all other possibilities and the bobbin continues to jam, it might be a problem with the machine’s timing.
This is a complex issue that typically requires professional attention. Contact a sewing machine technician to assess and rectify the timing.
9. Low-Quality Thread
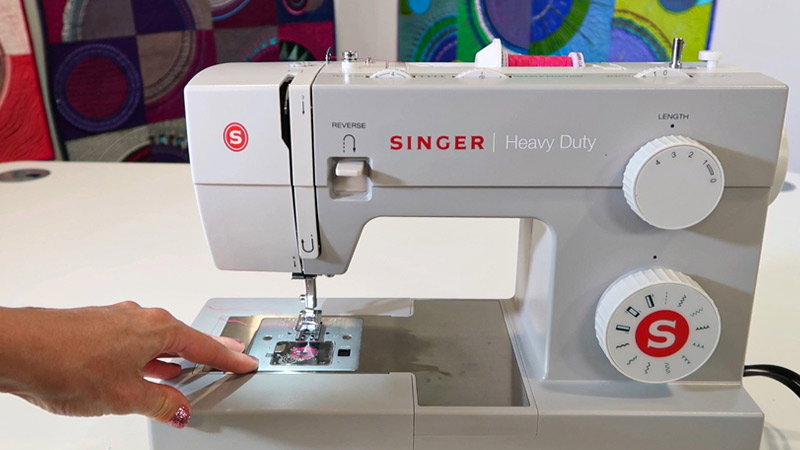
Invest in high-quality thread appropriate for your project. Older or poor-quality thread is more likely to fray, break, or get tangled. Always use fresh, good-quality thread to ensure smooth sewing.
10. Incorrect Sewing Technique
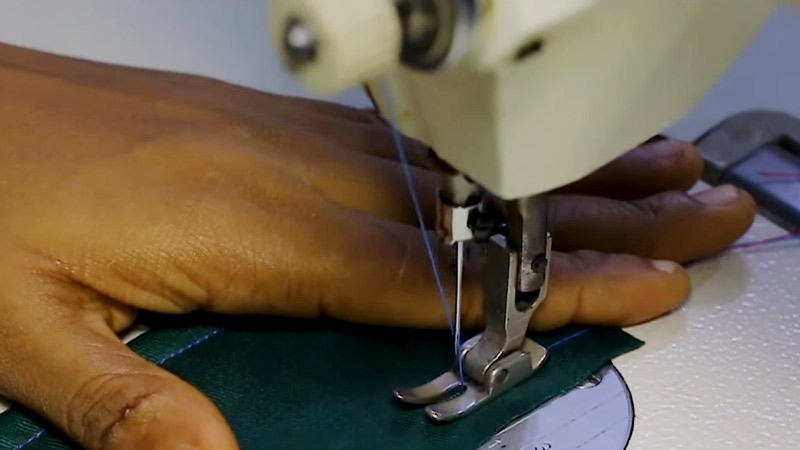
Practice proper sewing techniques. Avoid rushing or forcing the fabric through the machine.
Maintain a steady pace and let the machine’s feed dogs do the work. Gently guide the fabric, allowing the machine to stitch evenly.
How to Fix Bobbin Jamming?
Fixing bobbin jamming requires a systematic approach.
Follow these steps to address the issue:
Turn off the Machine
Ensure the sewing machine is not only turned off but also unplugged. This extra precaution prevents any accidental activation while you work on it.
Remove the Needle
Use a screwdriver or the designated tool to safely remove the needle.
Gently release the presser foot using the lever or button provided by your machine. This will give you a clearer view and better access to the bobbin area.
Clean the Bobbin Area
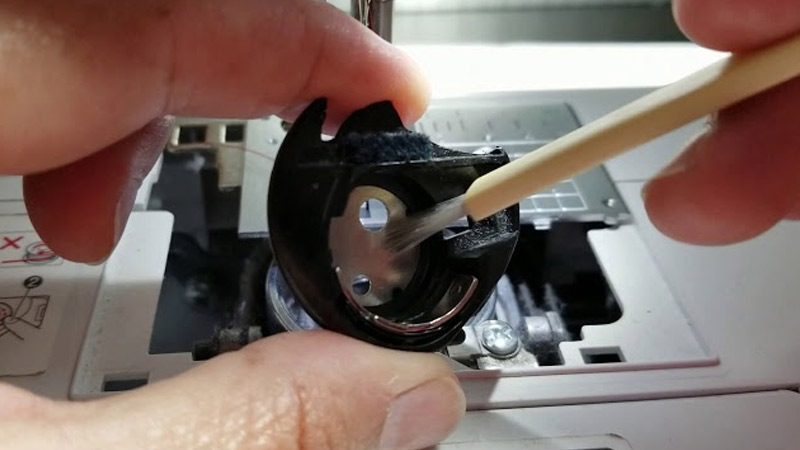
Use a small brush with soft bristles, a lint brush, or a can of compressed air. Pay special attention to hard-to-reach areas and the feed dogs.
Removing even the smallest debris can make a significant difference in preventing future jams.
Inspect the Bobbin and Case
Look closely at the bobbin. Ensure it’s not damaged, warped, or misshapen in any way.
Similarly, carefully examine the bobbin case for any cracks, sharp edges, or abnormalities. Replace either if needed.
Reinsert the Bobbin Correctly
Refer to your sewing machine’s manual for specific instructions on bobbin placement.
Ensure the thread is unwinding in the correct direction and that it’s properly seated in the bobbin case. A correctly placed bobbin is essential for smooth sewing.
Check Thread Tension
Adjust the upper thread tension according to your fabric and thread type.
If the tension is too tight, it can cause unnecessary strain on the bobbin thread, potentially leading to jams. Likewise, if it’s too loose, the threads may not interlock properly.
Replace the Needle
Install a new needle that is compatible with your machine and appropriate for your fabric. Use the recommended needle type and size for best results.
A worn or damaged needle can cause a multitude of sewing issues, including bobbin jams.
Test Sew on Scrap Fabric
Before starting your actual project, do a test run on a scrap piece of fabric.
This helps confirm that the bobbin jamming issue has been resolved. Pay attention to the stitches, ensuring they are even and smooth.
Adjust Stitch Length and Width
Set your machine to the appropriate stitch length and width for your specific project.
Incorrect stitch settings can contribute to bobbin jams, especially if the stitches are too tight or too wide for the fabric.
Check for Loose Parts
Gently but thoroughly inspect the machine for any loose screws, nuts, or other parts. Even a small misalignment or loose component can disrupt the bobbin’s movement.
Reassemble and Recheck
Once you’ve completed all the previous steps, reattach the presser foot and insert a new needle. Rethread the machine according to your manual’s instructions. Test sew again on a scrap piece of fabric to ensure the issue is fully resolved.
Consult the Manual
If the problem persists, refer to your sewing machine’s manual for specific troubleshooting tips and solutions tailored to your machine’s make and model.
Seek Professional Help
If all else fails, or if you’re uncomfortable performing further troubleshooting, it’s advisable to consult a professional sewing machine technician. They have the expertise to diagnose and address more complex issues.
Care and Maintenance
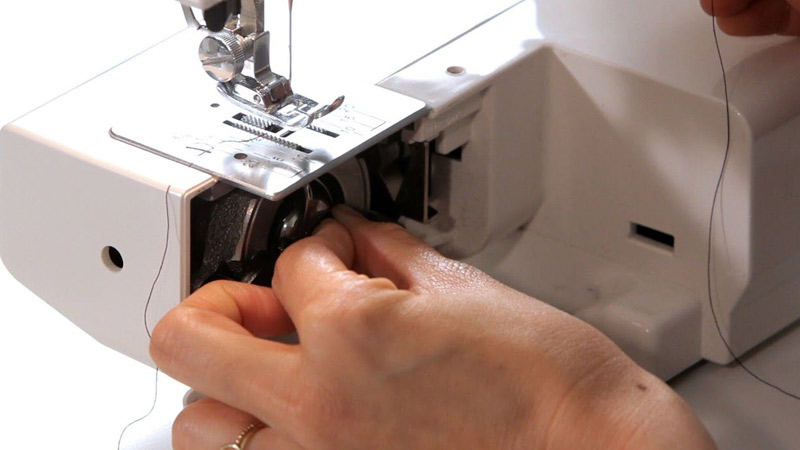
Proper care and maintenance are essential to keep your sewing machine running smoothly and extend its lifespan.
Here are some key care and maintenance tips for your sewing machine:
Read the Manual
The user manual is your go-to resource for understanding your sewing machine.
It provides detailed information on threading, stitch selection, troubleshooting common issues, and maintenance specific to your machine’s make and model. Keep it handy for reference.
Keep it Covered
Dust and debris can clog the internal components of your sewing machine, affecting its performance. Invest in a quality dust cover or hard case to protect your machine when it’s not in use.
Clean Regularly
Cleaning your sewing machine after each use is crucial. Lint and thread fragments can accumulate in the bobbin area and other parts of the machine, leading to jams and decreased sewing quality.
Use a soft brush, like a dedicated sewing machine brush, to gently remove debris. Consider a lint roller or compressed air for hard-to-reach areas.
Change Needles Regularly
A sharp needle is essential for clean and precise stitching. Dull or damaged needles can cause thread breakage, skipped stitches, and fabric damage.
Change the needle after 8-10 hours of sewing or at the start of each new project.
Use Quality Thread
Invest in high-quality thread appropriate for your project. Cheap or old threads can fray, break, and create tension issues. Quality thread ensures smoother sewing and longer-lasting projects.
Thread Tension Adjustment
Understand how to adjust the thread tension on your machine. Improper tension can lead to uneven stitches and other sewing problems.
Refer to your machine’s manual for guidance on adjusting tension based on your fabric and thread type.
Oil Your Machine
Some sewing machines require regular oiling to keep their moving parts lubricated. Follow the manufacturer’s instructions for oiling intervals and use only sewing machine oil.
Over-oiling can be as problematic as under-oiling, so follow the guidelines closely.
Change the Bobbin Regularly
Replace the bobbin when it’s running low on thread or at the start of a new project. Make sure the bobbin is wound evenly and that it’s inserted correctly in the bobbin case.
Store it Properly
Find a clean, dry, and cool place to store your sewing machine. Extreme temperatures and humidity can cause damage over time. Keep it covered to prevent dust and sunlight exposure.
Annual Servicing
Consider scheduling an annual professional servicing for your sewing machine, even if it seems to be working well.
A qualified technician can perform deep cleaning, and lubrication, and identify potential issues before they become major problems.
Be Gentle
Practice patience when sewing. Avoid pushing or pulling the fabric through the machine; let the feed dogs do their job.
Forcing fabric can lead to needle bending, thread snags, and machine jams.
FAQS
What is a bobbin jam?
A bobbin jam occurs when the thread on the bobbin, located beneath the needle plate, becomes tangled or stuck, impeding the sewing process.
What causes bobbin jams?
Bobbin jams can be caused by factors like incorrect bobbin placement, tangled thread, improper tension settings, or debris in the bobbin area.
How can I prevent bobbin jams?
Regular maintenance, correct threading techniques, using quality thread, and ensuring proper tension settings can help prevent bobbin jams.
Can using the wrong bobbin size cause jams?
Yes, using an incorrect bobbin size for your sewing machine can lead to uneven winding and threading issues, potentially causing bobbin jams.
When should I seek professional help for bobbin jams?
If you’ve tried troubleshooting steps and the bobbin continues to jam, it’s advisable to consult a sewing machine technician for a thorough assessment and repair.
To Wrap Up
Encountering a jammed bobbin can be a frustrating yet common issue in sewing.
This guide has shed light on the various factors that contribute to this problem, ranging from incorrect placement to thread tension issues.
By understanding these potential culprits and following the detailed steps provided, sewers can effectively troubleshoot and resolve bobbin jams.
Remember, regular maintenance, proper threading techniques, and using quality materials are key to preventing future incidents.
With patience and a systematic approach, you’ll be able to overcome bobbin jams and enjoy uninterrupted, smooth sewing sessions.
Empowered with this knowledge, you can confidently tackle any sewing project with precision and ease. Happy stitching!
Leave a Reply