Intertwining threads into intricate patterns through slip stitches is a craft that brings joy to many, but it’s not without its challenges.
One of the common frustrations faced by both novice and seasoned crafters is the perplexing occurrence of a slip stitch mysteriously generating an extra stitch. This phenomenon, though disheartening, is not uncommon.
Understanding the underlying reasons behind this hiccup is the first step towards mastering the art of slip stitching.
In this exploration, we will delve into the various factors that can contribute to this issue, providing insights and practical solutions for smoother, stitch-perfect projects.

What Is a Slip Stitch?
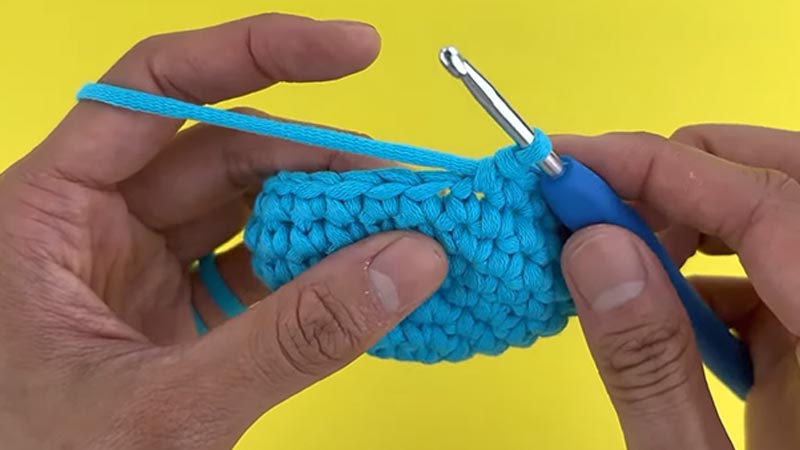
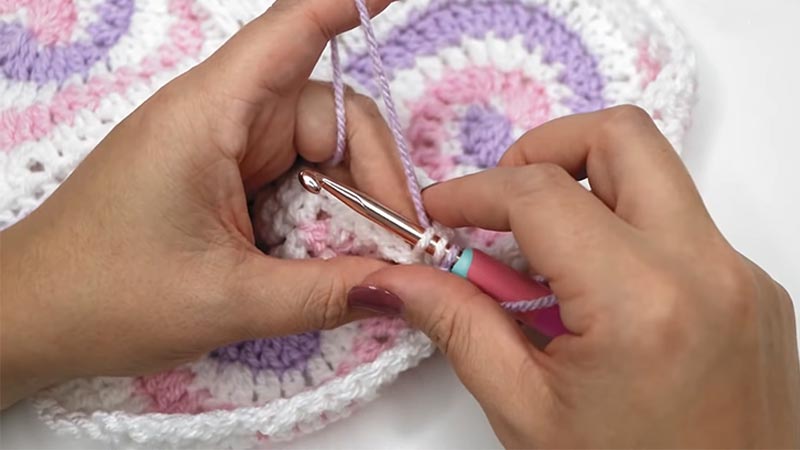
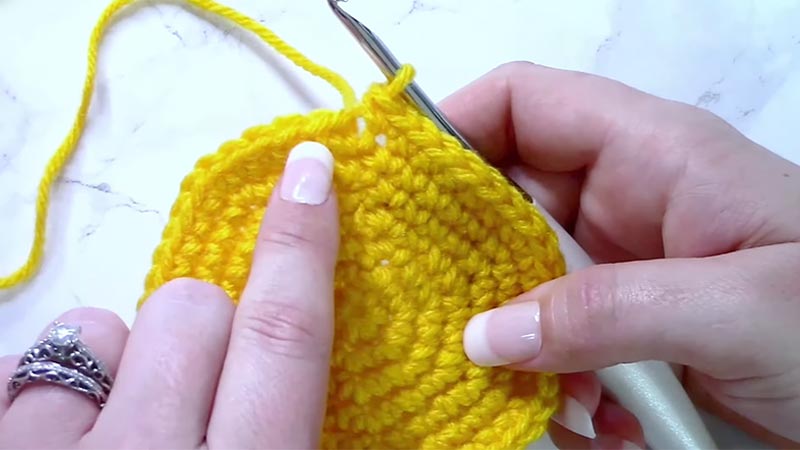
A slip stitch is a basic stitch in both crochet and knitting, serving various functions in crafting. In crochet, it’s created by inserting the hook into a stitch or space, pulling through a loop, and then immediately pulling that loop through the loop already on the hook.
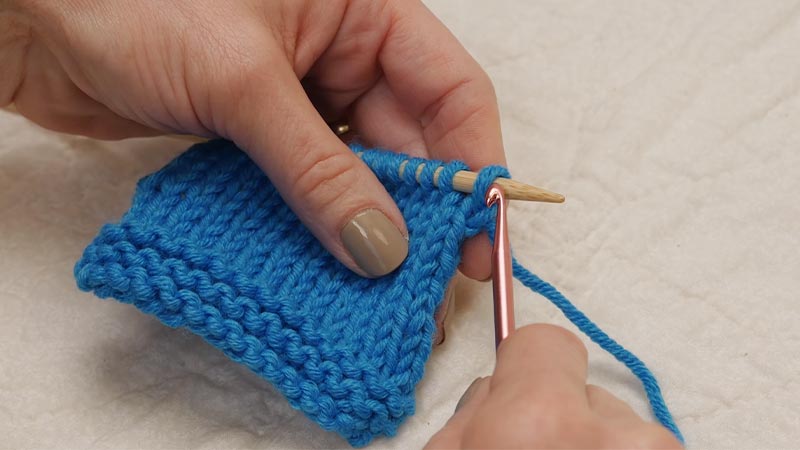
This creates a neat, nearly invisible stitch that’s often used for joining pieces together or for creating a smooth edge. In knitting, a slip stitch involves passing a stitch from one needle to the other without knitting or purling it.
This can be used for decorative purposes or to create textured patterns. In both crafts, the slip stitch is a versatile tool with a range of applications, making it an essential skill for any crafter.
Why Is My Slip Stitch Creating Another Stitch?

When you’re working with slip stitches in crochet or knitting, it can sometimes be frustrating to notice that your slip stitch is creating another stitch.
This phenomenon can happen for several reasons, and understanding these causes can help you avoid this issue in your future projects.
Here are some common reasons why your slip stitch might be creating an extra stitch:
Tension Issues
Achieving consistent tension is a fundamental aspect of crochet and knitting. If your slip stitches are too tight, they can pull the yarn too much, resulting in a longer loop that resembles an extra stitch.
On the other hand, if they’re too loose, they might not hold their shape properly. Practice finding a comfortable tension that works for you, and be mindful of it as you work.
Yarn Splitting
Yarn splitting can be frustrating and can lead to unintended extra stitches. It occurs when the hook or needle pierces the individual strands of the yarn rather than going through them cleanly.
Using a smooth-tipped tool and handling the yarn gently can help prevent splitting. Additionally, choosing a yarn that is less prone to splitting can make a significant difference.
Misidentification of the Slip Stitch
It’s crucial to correctly identify the stitch or space where you should be inserting your hook or needle when making a slip stitch.
For example, in some patterns, the slip stitch may need to be worked through the back loop only. Double-check the pattern instructions and refer to tutorials or guides if you’re unsure about the correct placement.
Extra Yarn Overs
Yarnovers are a fundamental part of crochet and knitting, but they should only occur when they’re explicitly called for in the pattern.
When you accidentally add a yarn over while making a slip stitch, it can lead to an extra loop on your hook. Pay close attention to each step of the stitch to avoid unintentional yarnovers.
Pattern Errors
While it’s less common, patterns can contain mistakes. If you suspect the pattern might be the issue, carefully review the instructions.
When you’re part of an online crafting community or forum, you can seek advice or clarification from fellow crafters who may have worked on the same pattern.
Inexperience
When you’re relatively new to crochet or knitting, it’s entirely normal to face challenges like creating an extra stitch during slip stitching.
As you continue to practice and gain experience, you’ll develop a better understanding of the techniques involved, and this issue will occur less frequently.
Unraveling or Frogging
When you need to undo stitches, it’s important to do so carefully. Rushing through this process can lead to accidental loops and stitches. Use a crochet hook or needle to unravel stitches one at a time, paying close attention to each step.
How Can You Avoid Creating Another Stitch With Your Slip Stitch?

To ensure your slip stitch doesn’t inadvertently create an extra stitch, it’s crucial to pay close attention to certain key factors.
Let’s explore some effective techniques and practices to help you master the slip stitch without adding unwanted stitches to your project.
Maintain Consistent Tension
Achieving consistent tension is crucial in both crochet and knitting. Practice finding a tension that feels comfortable for you and stick to it throughout your project.
Regular practice will help you develop a steady hand, preventing the slip stitch from becoming too tight or too loose.
Use a Smooth-Tipped Hook or Needle
Investing in a high-quality hook or needle with a smooth tip can make a significant difference.
Smooth-tipped tools glide through the yarn more easily, reducing the likelihood of split yarn fibers. This, in turn, helps prevent unintentional loops or stitches.
Identify the Correct Stitch or Space
Take your time to read and understand the pattern instructions. Pay close attention to where the slip stitch is supposed to go.
Sometimes, patterns may call for working into the back loop only or a specific space. Being precise in your placement helps avoid creating extra stitches.
Avoid Unintentional Yarn Overs
Be conscious of your yarn handling. Only wrap the yarn around your hook or needle when the pattern explicitly calls for it. It’s easy to accidentally create extra loops by making additional yarnovers when they’re not required.
Review Pattern Instructions
Carefully read through the pattern before starting. If a particular step is unclear, refer to tutorials, or guides, or ask for help from experienced crafters. It’s better to seek clarification early on to avoid potential mistakes.
Handle Frogging
When you need to undo stitches, use a crochet hook or knitting needle to unravel them one at a time.
Taking your time in this process minimizes the risk of creating accidental loops or stitches. Patience is key when correcting mistakes.
Practice and Gain Experience
Like any skill, practice is essential for improvement. The more you work with slip stitches, the better you’ll become at executing them accurately.
As you gain experience, you’ll develop a better feel for tension, placement, and yarn manipulation.
How Can You Fix a Project With Extra Slip Stitches?

Fixing a project with extra slip stitches can be a bit tricky, but it’s certainly doable with some patience and careful work.
Here’s a step-by-step guide on how to correct a project with extra slip stitches:
Identify the Extra Stitches
Begin by carefully examining your work. Count the stitches to identify where the extra slip stitches were made. Take your time to pinpoint the exact locations of the errors.
Undo the Extra Stitches
Using a crochet hook or your fingers, gently unravel the work starting from the point where the mistakes occurred. Be cautious not to undo too much. Focus solely on the area where the extra slip stitches were made.
Recreate the Correct Stitch
Once you’ve unraveled the problem area, refer back to your pattern or stitch guide to understand the correct stitch pattern or sequence. Pay close attention to how the slip stitch should be executed.
Insert Your Hook Correctly
Ensure that your crochet hook is inserted into the correct loops or spaces according to the pattern. Take note of the specific points where the extra slip stitches were made to avoid repeating the same mistake.
Work the Correct Slip Stitches
With your hook positioned accurately, proceed to work the appropriate number of slip stitches as specified in the pattern. Maintain consistent tension to ensure that the stitches match the rest of your project.
Check Your Count
After working on the corrected stitches, count your stitches again. Verify that you now have the correct number. Double-check your work to ensure that the problem has been successfully resolved.
Continue With Your Project
Once you’ve fixed the extra slip stitches and confirmed that your stitch count is accurate, resume working on your project according to the pattern instructions.
Weave in Loose Ends
Upon completing your project, take the time to weave in any loose ends from the section you unraveled. This step helps to secure your work and gives it a neat, finished appearance.
Learn From the Experience
Reflect on what led to the extra slip stitches. Was it a matter of tension, distraction, or another factor? Take this as an opportunity to learn and grow as a crocheter. Strive to avoid making the same error in future projects.
FAQS
What is causing my slip stitch to create another stitch?
Possible reasons include inconsistent tension, misidentification of the slip stitch, or unintentional yarnovers.
Can yarn splitting be a factor in creating an extra stitch with a slip stitch?
Yes, yarn splitting can lead to extra loops or stitches. Using a smooth-tipped hook or needle can help prevent this issue.
What should I do if I accidentally create an extra stitch with my slip stitch?
Carefully review your work to identify the mistake. Then, carefully unravel the stitches to the point where the error occurred, and redo the slip stitch correctly.
Is it common for beginners to encounter this issue with slip stitches?
Yes, it’s a common learning curve for beginners. With practice and experience, it becomes easier to execute slip stitches without creating extra stitches.
Can pattern errors contribute to the problem of slip stitches creating extra stitches?
Yes, sometimes patterns may contain mistakes. Double-check the pattern instructions and, if needed, seek clarification from the designer or a crafting community.
To Recap
Encountering the issue of a slip stitch creating an extra stitch is a common challenge in crochet and knitting.
This hiccup can arise from various factors, including tension inconsistencies, misidentification of the slip stitch, and unintentional yarnovers. It’s reassuring to know that this problem is not uncommon, especially for beginners.
With patience, practice, and a keen eye for detail, crafters can overcome this hurdle. By addressing tension, using appropriate tools, and carefully following pattern instructions, one can significantly reduce the likelihood of encountering this issue.
Remember, mistakes are part of the learning process, and with time, the art of creating slip stitches will become second nature.
Leave a Reply