Embarking on a punch needle project can be an exciting journey into textile artistry, but encountering unexpected obstacles can be disheartening.
When faced with the frustration of a punch needle that isn’t working as expected, understanding the underlying reasons is crucial to overcoming these challenges.
Various factors can contribute to a punch needle’s malfunction, from inconsistent stitches to difficulty penetrating the fabric.
By delving into the intricacies of needle size, thread tension, fabric choice, and technique, crafters can navigate through these hurdles and unlock the full potential of their punch needle endeavors.
In this exploration, we’ll delve into the common issues encountered with punch needlework and unravel the solutions to reignite creativity and passion in this captivating craft.
What Is a Punch Needle?
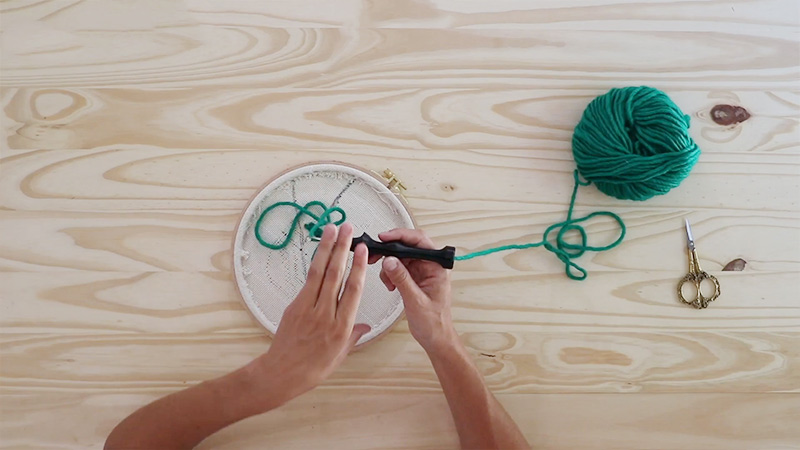
A punch needle, also known as a punch embroidery or rug hooking needle, is a specialized tool used in punch needle embroidery.
It consists of a hollow needle with a beveled or pointed tip and a handle or holder for gripping. The needle punches loops of thread or yarn through the fabric, creating textured designs on the surface.
The needle’s depth determines the loops’ height, allowing for various textures and effects.
Punch needles are versatile tools for creating intricate patterns, filling large areas with color, or adding embellishments to fabric-based projects.
Why Is My Punch Needle Not Working?
When your punch needle isn’t working as expected, it can be frustrating, especially if you’re in the midst of a project. There are several reasons why your punch needle may not perform correctly.
Here are the reasons of “why isn’t my punch needle working”:
Wrong Needle Size
Selecting the appropriate needle size is crucial in punch needlework. If your needle is too small for the yarn or thread you’re using, it may not be able to create loops that adequately fill the fabric’s weave.
Conversely, if the needle is too large, it might create overly large loops that don’t hold their shape well or may even damage the fabric.
Always refer to the manufacturer’s recommendations for needle size based on the thickness of your yarn or thread.
Thread Tension
Achieving the correct tension is akin to finding the perfect balance in punch needle embroidery. Too loose, your loops will sag or unravel; too tight, and you risk distorting the fabric or breaking the thread.
Adjust the tension dial on your punch needle tool according to the weight and texture of your material.
Fine-tune it until you achieve a tension that allows the loops to snugly fill the fabric’s surface without causing strain or distortion.
Needle Depth
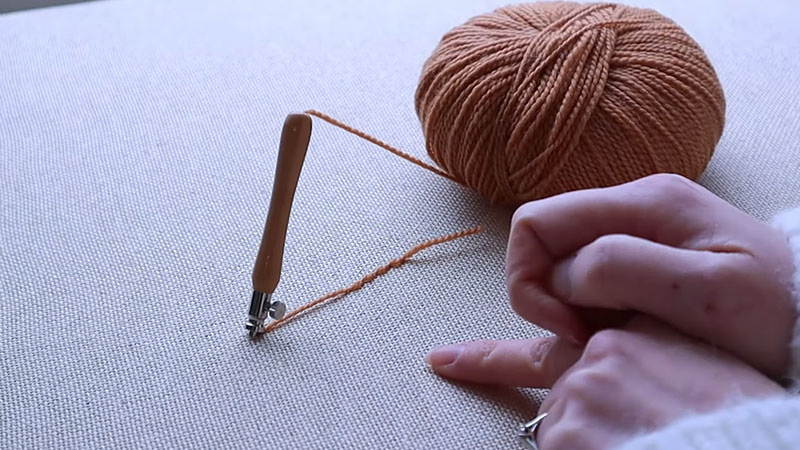
The depth setting on your punch needle tool determines how deeply the needle penetrates the fabric.
If it’s set too shallow, the needle may not grasp enough fabric to create stable loops, resulting in inconsistent or sparse coverage.
On the other hand, if it’s set too deep, you might struggle to punch through the fabric altogether, leading to frustration and potential damage to your project.
Take the time to adjust the needle depth according to the thickness of your fabric, ensuring that it comfortably pierces through without resistance.
Fabric Choice
The fabric you select sets the foundation for your punch needle project. Opt for fabrics with a stable weave, such as monk’s cloth or tightly woven cotton, to support your loops.
Avoid overly stretchy or loosely woven fabrics, as they may not hold the loops securely or could distort under the pressure of the punch needle tool.
Consider experimenting with different fabrics to find the one that best complements your chosen needle size and yarn thickness.
Needle Condition
Like any tool, punch needles require regular maintenance to perform at their best. Inspect your needle for signs of wear, such as dull or bent tips, which can impede its ability to penetrate the fabric smoothly.
If you notice any damage, replace the needle promptly to avoid frustration and achieve optimal results in your punch needle projects. Keeping your needles clean and sharp ensures consistent and precise stitching.
Yarn Quality
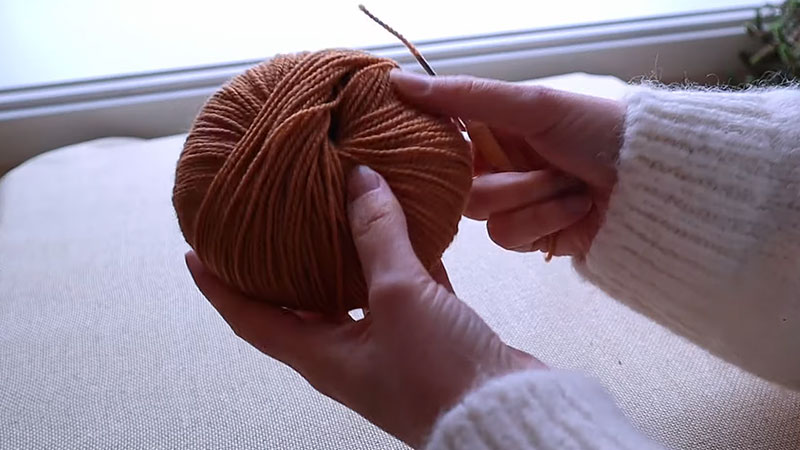
The quality of the yarn or thread you use significantly impacts the outcome of your punch needlework. Opt for high-quality materials that are smooth, durable, and free from knots or frays.
Inferior yarns may split, break, or shed excessively, leading to frustration and inconsistency in your stitches.
Invest in yarns designed explicitly for punch needle embroidery, as they are often formulated to glide smoothly through the fabric and create well-defined loops.
Technique
Mastering the technique of punch needle embroidery requires patience, practice, and attention to detail.
Ensure you’re holding the punch needle tool at the correct angle relative to the fabric, allowing the needle to penetrate smoothly without skewing or snagging.
Maintain a steady rhythm as you punch the needle through the fabric, applying gentle pressure to create uniform loops.
Take breaks to rest your hand and prevent fatigue, allowing you to sustain precision and consistency in your stitching.
Punch Needle Troubleshooting
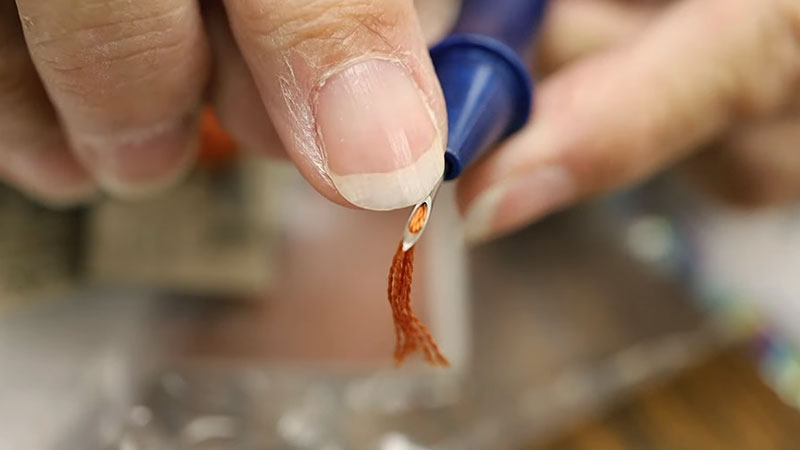
Punch needle embroidery, while a rewarding and enjoyable craft, can sometimes present challenges that require troubleshooting.
Here’s a guide to troubleshooting common issues encountered in punch needlework:
Uneven Loops
Several factors could be at play if your loops are coming out uneven in height or size.
Check your needle depth to ensure it’s consistently set, as varying depths can lead to inconsistent loops.
Adjust your thread tension to ensure it’s neither loose nor tight, as improper tension can cause uneven loops.
Finally, evaluate your punching technique. Maintaining a consistent rhythm and angle as you punch can help you achieve more uniform results.
Fabric Puckering
Puckering occurs when the fabric bunches up or wrinkles around the punched area. This issue often arises due to excessive tension in the thread or using a needle that’s too large for the fabric.
Try reducing the thread tension slightly and switching to a smaller needle size to alleviate puckering.
Additionally, ensure you’re holding the fabric taut while punching to minimize the risk of puckering.
Difficulty Punching Through Fabric
When you struggle to punch the needle through the fabric, check the needle depth to ensure it’s set appropriately.
If the needle depth is correct, examine the fabric itself is it too thick or tightly woven? Consider using a sharper needle or a fabric with a looser weave to facilitate more effortless punching.
Alternatively, you can punch more slowly and apply gentle pressure to work the needle through the fabric gradually.
Fabric Fraying or Snagging
Fraying or snagging fabric can result in messy or damaged stitches. To prevent this issue, use sharp, high-quality needles and avoid pulling the needle through the fabric forcefully.
Additionally, consider applying a fray-check solution or fabric stabilizer to the back of the fabric before punching to reinforce it and minimize fraying.
Thread Breakage
Thread breakage can occur due to several factors, including using low-quality or fragile thread, improper tension, or a dull needle.
Ensure you’re using durable, smooth thread suitable for punch needle embroidery, and adjust the tension as needed to prevent excessive strain on the thread.
Regularly inspect your needle for signs of dullness or damage, and replace it promptly if necessary.
Inconsistent Stitch Density
Inconsistent stitch density can detract from the overall appearance of your punch needle project. To achieve more uniform stitch density, maintain a steady punching rhythm and ensure the needle depth is consistent throughout.
Additionally, evenly space your stitches and avoid overlapping them excessively, which can result in bulky or uneven areas.
Project Distortion
When your project becomes distorted or misshapen during the punching process, review your technique and tension settings.
Ensure you’re holding the fabric taut and punching evenly across the surface to prevent distortion.
Adjust the tension as needed to maintain even tension throughout the fabric, which can help preserve its shape as you work.
Punch Needle Stitches Not Staying -What Are the Reasons?
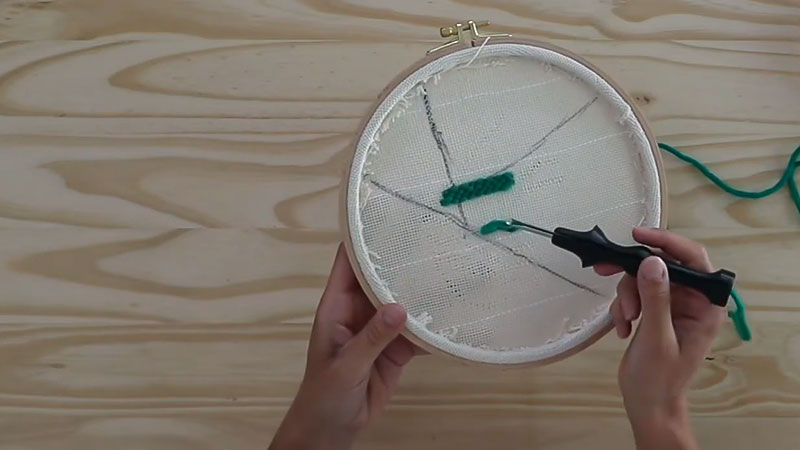
Experiencing punch needle stitches that aren’t staying in place can be frustrating, as it can undermine the integrity and appearance of your embroidery project.
Here are the common reasons why your punch needle stitches might not be staying put, along with troubleshooting tips:
Insufficient Thread Tension
When your thread tension is too loose, the stitches may not hold securely in the fabric. Conversely, if the tension is too tight, it can cause the fabric to pucker or distort, leading to difficulty securing the stitches.
Adjust the tension dial on your punch needle tool until you find the right balance where the stitches hold firmly without causing strain on the fabric.
Incorrect Needle Depth
The depth setting of your punch needle tool is crucial in ensuring that stitches stay in place. If the needle depth is too shallow, the stitches may not penetrate the fabric sufficiently to anchor firmly.
On the other hand, if set too deep, it can result in excessive fabric distortion or difficulty in punching through.
You are adjusting the needle depth until you find the optimal setting for secure stitching without compromising fabric integrity.
Fabric Choice
Not all fabrics are equally compatible with punch needle embroidery. If you’re experiencing stitches that won’t stay put, consider the type of fabric you’re working with.
Fabrics with loose weaves or stretchy compositions may not provide enough stability for the stitches to hold securely.
Opt for a tighter weave, such as monk’s cloth or tightly woven cotton, to provide a sturdy foundation for your stitches.
Needle Condition
A dull or damaged punch needle can lead to stitches that fail to stay in place. Inspect your needle for wear or damage, such as bent tips or rough edges, and replace it if necessary.
Using a sharp and properly maintained needle ensures clean, precise stitching that securely anchors in the fabric.
Technique
The technique you employ while punching can also influence the stability of your stitches.
Ensure you punch the needle through the fabric at a consistent angle and with even pressure to create uniform loops securely anchored in place.
Avoid pulling or tugging excessively on the thread after punching, as this can loosen the stitches and compromise their stability.
Thread Quality
The low-quality or fragile thread may be prone to unraveling or slipping out of place, leading to stitches that won’t stay put.
Invest in high-quality embroidery thread designed explicitly for punch needlework, as it tends to be more durable and less prone to fraying or breaking.
Using the correct thread can significantly improve the stability and longevity of your stitches.
How to Thread a Punch Needle?
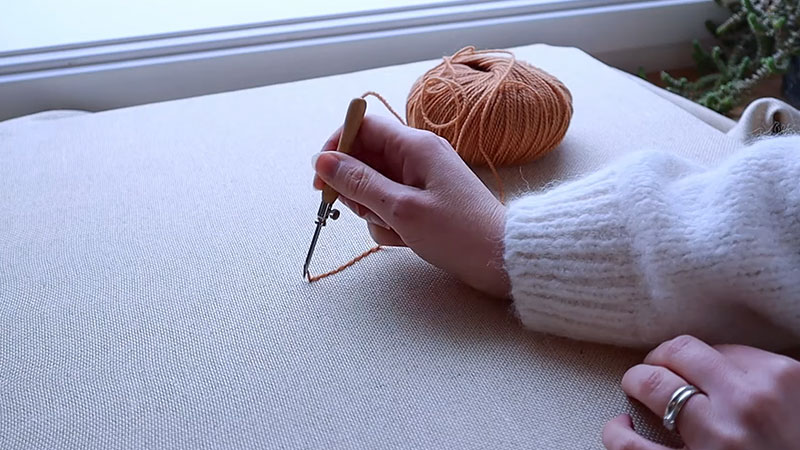
Threading a punch needle is fundamental in preparing for punch needle embroidery.
Follow these steps to thread your punch needle correctly:
Prepare Your Thread
Before cutting your thread, consider the thickness of the material you’re working with. Thicker fabrics may require longer threads to ensure you don’t run out midway through your project.
Conversely, shorter threads may be more manageable for delicate fabrics to prevent tangling or breakage.
Additionally, if you’re using multiple strands of embroidery floss, separate them before threading the needle to avoid tangling.
Thread the Needle Eye
When threading the needle, it may be helpful to moisten the end of the thread slightly to stiffen it, making it easier to thread through the eye.
If you’re having difficulty threading the needle, try trimming the end of the thread to create a clean, tapered point. This can help guide the thread through the eye more smoothly.
Pull the Thread Through
As you pull the thread through the needle eye, be gentle to avoid snagging or breaking the thread. If the thread does get caught, carefully back it out of the eye and try again.
Once the thread is through, please give it a gentle tug to ensure it’s securely in place, but be cautious not to pull too hard, which could dislodge the thread.
Secure the Thread
When you prefer not to tie a knot at the end of the thread, you can secure it using a small piece of adhesive tape or by weaving the tail back through a few stitches on the underside of your fabric. This method provides a secure hold without adding bulk to your work.
Adjust the Length
When determining the length of the thread extending from the needle, consider the design of your project and how often you’ll need to rethread the needle.
Longer threads may allow you to work more extended periods without interruption, but they can also increase the risk of tangling or knotting.
Conversely, shorter threads may require more frequent rethreading but can be easier to manage, especially for intricate or detailed work.
Insert the Needle into the Needle Holder
When your punch needle requires a separate needle holder, ensure that it is inserted fully and securely into the holder to prevent it from coming loose during use.
Some punch needles have a locking mechanism to hold the needle in place, so be sure to engage this feature if applicable.
Begin Punching
As you begin punching, pay attention to the angle of the needle relative to the fabric. Holding the needle too upright may result in shallow stitches, while angling it too steeply may cause the needle to snag or bend.
Experiment with different angles to find the one that allows the needle to penetrate the fabric smoothly and create even stitches.
Repeat
As you continue punching, periodically check the tension of your stitches to ensure they’re consistent and secure. Adjust the thread tension as needed to prevent loose or overly tight stitches.
With practice, you’ll develop a rhythm to punch efficiently and achieve beautiful results in your punch needle embroidery.
How to Secure Punch Needle Work?
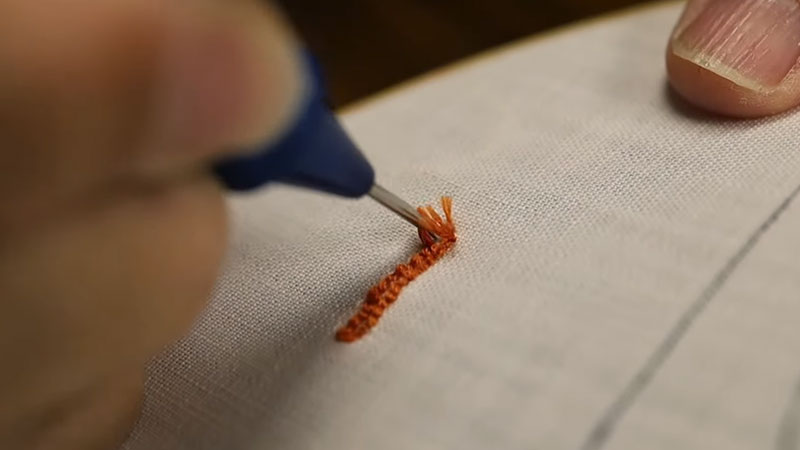
Securing punch needlework is essential to ensure your stitches remain in place and your embroidery project maintains its integrity over time.
Here are steps to properly secure your punch needlework:
Finish the Ends
After tying a secure knot at the end of each strand on the underside of your fabric, consider reinforcing the knots with a small dab of fabric glue for added security.
This extra step can help ensure that the knots remain tight and prevent them from coming undone during handling or washing.
Weave in Loose Ends
When weaving in loose ends, take care to distribute the ends evenly across the back of your embroidery to avoid creating bulk or distortion.
Additionally, weave the ends through multiple stitches in different directions to create a secure anchor that withstands the tension of the fabric. Trim any excess thread close to the fabric surface to maintain a neat appearance.
Secure the Backing
When adding a backing fabric or interfacing, choose a material that complements the weight and texture of your punch needlework.
Before attaching the backing, ensure that your embroidery’s front and back are clean and free of any loose threads or debris.
Secure the backing fabric carefully to avoid wrinkles or puckering, and trim any excess fabric along the edges for a clean finish.
Frame Your Work
Before framing your punch needle embroidery, consider adding a layer of acid-free mat board or foam board between the fabric and the frame to provide additional support and protection.
This can help prevent the fabric from sagging or stretching over time and ensure that your embroidery remains flat and smooth within the frame.
When mounting your embroidery, use archival-quality materials to prevent discoloration or damage to the fabric.
Finish the Edges
Experiment with different edge treatments to find one that complements the style of your punch needle project.
For a decorative touch, consider adding contrasting fabric trim, lace, or embroidery stitches along the edges of your fabric.
Be sure to secure the edges firmly to prevent fraying and maintain the integrity of your embroidery over time.
Use a Sealant
Before applying a fabric sealant or fray check, test it on a small, inconspicuous area of your embroidery to ensure compatibility with the fabric and thread.
Apply the sealant sparingly along the edges of your stitches, taking care not to saturate the fabric.
Allow the sealant to dry completely before handling or framing your embroidery to prevent smudging or transferring the sealant onto other surfaces.
Careful Handling
When handling your punch needle embroidery, avoid folding or creasing the fabric to prevent permanent creases or distortion of the stitches.
Store your finished project in a clean, dry environment away from direct sunlight and moisture to preserve the colors and integrity of the fabric over time.
Cover your embroidery with acid-free tissue paper or a fabric cover to protect it from dust and debris.
Tips to Properly Maintain a Punch Needle?
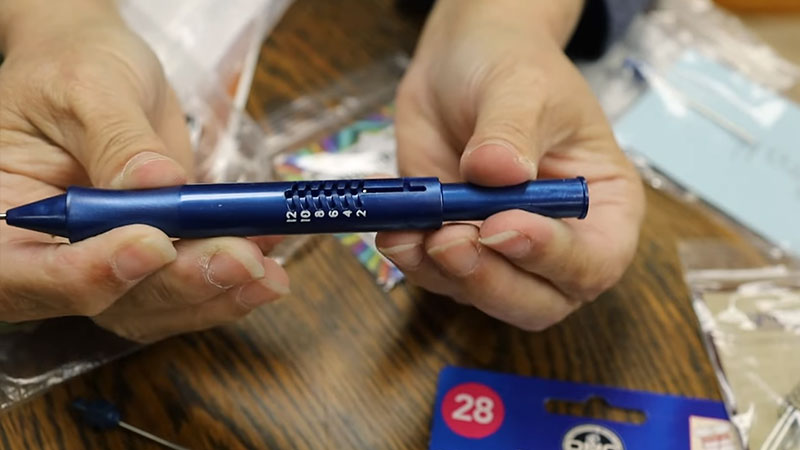
Proper maintenance of your punch needle is essential to ensure optimal performance and longevity.
Here are some practical tips on how to maintain your punch needle effectively:
Clean Regularly
Pay special attention to cleaning the needle’s tip and threading mechanism, as any debris buildup can affect the needle’s performance.
Use a soft-bristled brush or compressed air to gently dislodge any accumulated lint or thread fibers, ensuring the needle remains clean and free of obstructions.
Inspect for Damage
During your inspection, carefully examine all parts of the punch needle for signs of wear or damage, including the needle tip, screws, and threading mechanisms.
Look for any bends, nicks, or rough spots on the needle tip, as these can affect the quality of your stitches.
Additionally, check for loose or missing screws and ensure that all moving parts function smoothly.
Sharpen the Needle
When sharpening the needle tip, maintain its original shape and angle to preserve its balance and performance.
Use a fine grit sharpening stone or needle file to gently sharpen the tip, working evenly across the entire surface to achieve a sharp edge. Avoid over-sharpening, as this can weaken the needle and compromise its durability.
Replace Needles as Needed
Keep track of the condition of your punch needle and replace it promptly if you notice any significant wear or damage.
Using a worn or damaged needle can result in inconsistent stitching and may cause further damage to your fabric. Keep spare needles on hand to quickly swap them out when needed.
Store Properly
Store your punch needle in a designated storage case or container to protect it from dust, moisture, and accidental damage.
Avoid storing the needle in areas with extreme temperatures or humidity, as this can affect its performance and durability over time.
Additionally, consider using a protective cap or cover to shield the needle tip and threading mechanism from damage during storage.
Oil Mechanisms
When your punch needle features moving parts or mechanisms, such as a spring-loaded needle mechanism, periodically lubricate these components with sewing machine oil or silicone lubricant.
Apply a small amount of oil to the moving parts according to the manufacturer’s recommendations to ensure smooth operation and prevent premature wear.
Avoid Excessive Force
Use gentle, controlled pressure when punching through the fabric to avoid bending or damaging the needle.
Stop and assess the situation if you encounter resistance rather than forcing the needle through. Excessive force can result in bent or broken needles and may damage your fabric.
Follow the Manufacturer’s Instructions
Consult the manufacturer’s instructions for specific guidance on maintenance and care for your punch needle model.
Follow any recommended cleaning procedures, maintenance schedules, or lubrication instructions to ensure your needle remains in optimal condition for long-lasting performance.
FAQs
Why Is My Punch Needle Loops Not Staying?
Your punch needle loops are not staying due to inadequate tension or incorrect needle depth, leading to loose or unstable stitches.
How to end punch needle?
To end the punch needle, cut the thread close to the fabric surface, then weave the remaining tail through nearby stitches on the underside of the fabric to secure it in place.
Wrap Up
Troubleshooting issues with a punch needle requires a systematic approach, considering factors such as needle size, thread tension, fabric choice, and technique.
By identifying the root cause of the problem and making appropriate adjustments, such as selecting the correct needle size, adjusting thread tension, or refining the punching technique, one can overcome challenges and achieve the desired results in punch needle embroidery.
Regular maintenance, such as cleaning, inspecting for damage, and proper storage, also plays a crucial role in ensuring the optimal performance and longevity of the punch needle.
With patience, practice, and attention to detail, addressing why a punch needle isn’t working can improve stitching quality and a more enjoyable crafting experience.
Leave a Reply