In the world of sewing, precision is key to achieving impeccable results. When it comes to embroidery, choosing between an embroidery foot or forgoing one can significantly impact the outcome of your creative endeavors. So, why use embroidery foot instead of no foot?
The embroidery foot, a specialized attachment for sewing machines, is crucial in guiding fabrics smoothly and ensuring meticulous stitch placement.
In this exploration, we delve into the reasons why opting for an embroidery foot can elevate your sewing experience.
From intricate designs to delicate fabrics, discover how this simple yet indispensable tool can make a world of difference in the quality and finesse of your embroidery projects.
Say goodbye to the challenges of erratic stitches and uneven patterns as we unravel the advantages of embracing the precision that an embroidery foot brings to your crafting table.
Why Use Embroidery Foot Instead of No Foot?
The choice between using an embroidery foot or going without one is a decision that can significantly impact the outcome of your creative endeavors. Let’s explore the reasons why opting for embroidery feet is a wise choice.
Understanding the Embroidery Foot
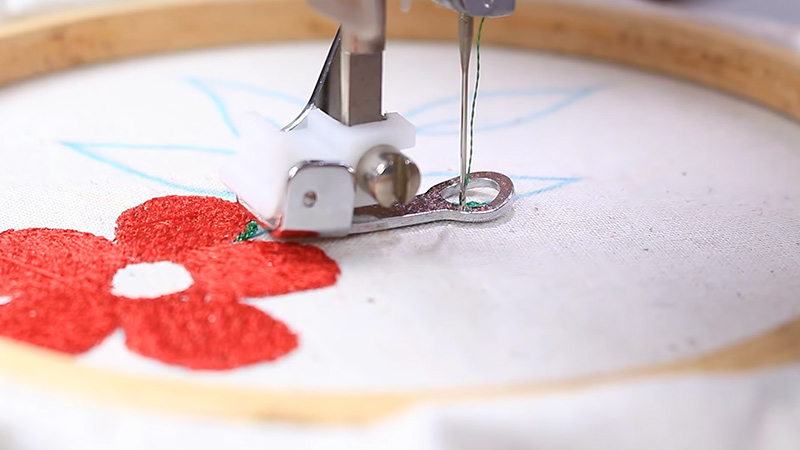
An embroidery foot, also known as an embroidery presser foot or free-motion foot, is a specialized attachment designed for sewing machines.
Unlike regular presser feet, the embroidery foot allows for greater visibility and maneuverability when working on intricate designs.
Its transparent or open-toe design lets the sewist see the needle and the fabric clearly, facilitating precise stitch placement.
The Challenge of Going Footless
Sewing without an embroidery foot can pose challenges, especially when working on delicate fabrics or intricate patterns.
The lack of a dedicated foot makes it difficult to maintain control and achieve the level of precision required for quality embroidery work.
Stitches may become uneven, patterns distorted, and the overall result may lack the professional touch that an embroidery foot provides.
Advantages of Using an Embroidery Foot
Whether you want precision or versatility, an embroidery foot is helpful in many ways. Here are the advantages of using an embroidery foot:
Enhanced Control
One of the primary advantages of using an embroidery foot is the heightened control it offers. The open-toe design allows for a clear view of the needle and fabric, enabling the sewist to guide the material precisely.
This increased control is particularly beneficial when working on detailed or intricate designs, ensuring that stitches follow the intended path.
Meticulous Stitch Placement
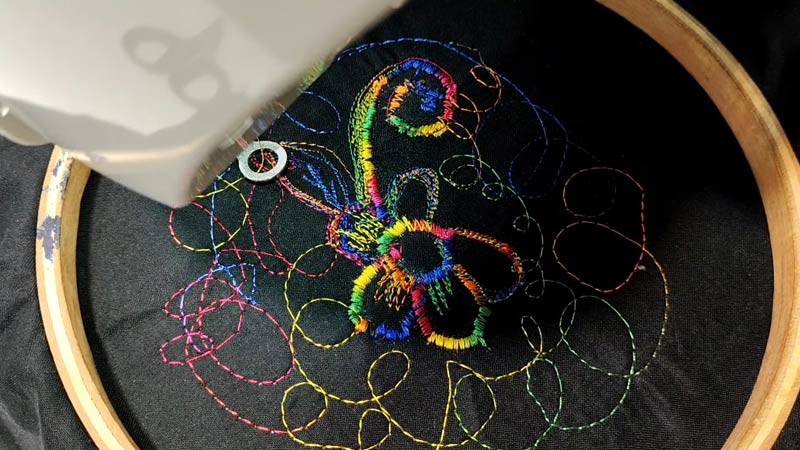
Achieving precise stitch placement is crucial in embroidery, especially when creating intricate patterns or embellishments.
When you get an embroidery foot for a sewing machine, its transparency allows the sewist to align the stitches accurately, resulting in a more polished and professional finish. Without this precision, stitches may veer off course, compromising the overall quality of the embroidery.
Reduced Fabric Friction
The smooth surface of an embroidery foot reduces friction between the fabric and the machine, preventing snags and tugs.
This is particularly advantageous when working with delicate or stretchy fabrics that are prone to bunching or distorting without proper guidance. The embroidery foot ensures a smooth glide, minimizing the risk of fabric-related mishaps.
Versatility Across Fabrics
Embroidery encompasses a wide range of fabrics, each with its unique characteristics. The embroidery foot is versatile by accommodating various fabric types, from lightweight silks to heavy denim.
Seamlessly transitioning between fabrics without compromising stitch quality makes this foot an essential tool for sewists working on diverse projects.
Ideal for Free-Motion Embroidery
Free-motion embroidery, where the sewist manually guides the fabric to create designs, is a technique that flourishes with the use of an embroidery foot.
The open-toe design allows for unobstructed visibility, empowering the sewist to exercise creative freedom. Whether crafting intricate florals or elaborate motifs, the embroidery foot facilitates smooth and controlled free-motion stitching.
Not Just for Embroidery
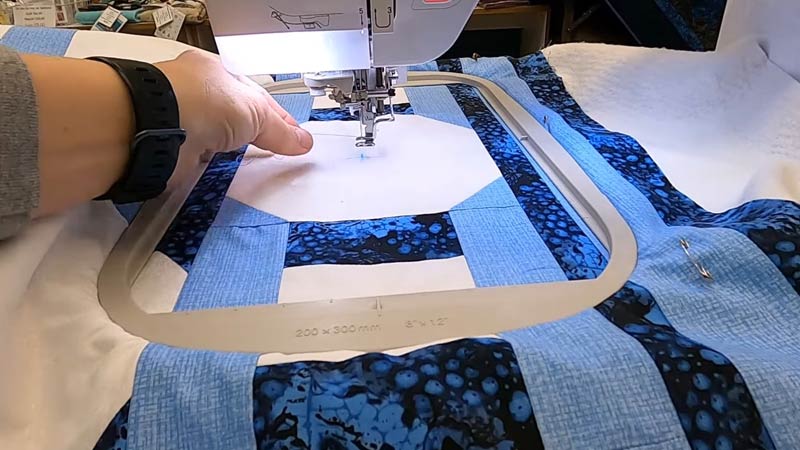
Despite its name, the sewing machine embroidery foot is not limited to embroidery projects alone. It proves invaluable in various sewing applications, including quilting, appliqué, and decorative stitching.
Its versatility extends its utility beyond traditional embroidery, making it a go-to accessory for various creative endeavors.
Suitable for Both Beginners and Experts
There is a misconception that embroidery feet are reserved for seasoned sewists. In reality, beginners stand to benefit just as much from incorporating this tool into their sewing repertoire.
The enhanced control and visibility the embroidery foot provides make it an excellent learning aid, helping novices develop their skills with greater precision from the start.
How to Use Free Motion Embroidery Foot?
Free-motion embroidery is a liberating technique that allows sewists to unleash their creativity by manually guiding fabric to create intricate designs. Doing free-motion embroidery without a foot is difficult.
So, we’ll walk you through the steps of using the free-motion machine embroidery foot to achieve impressive results in your sewing projects.
Select the Right Foot
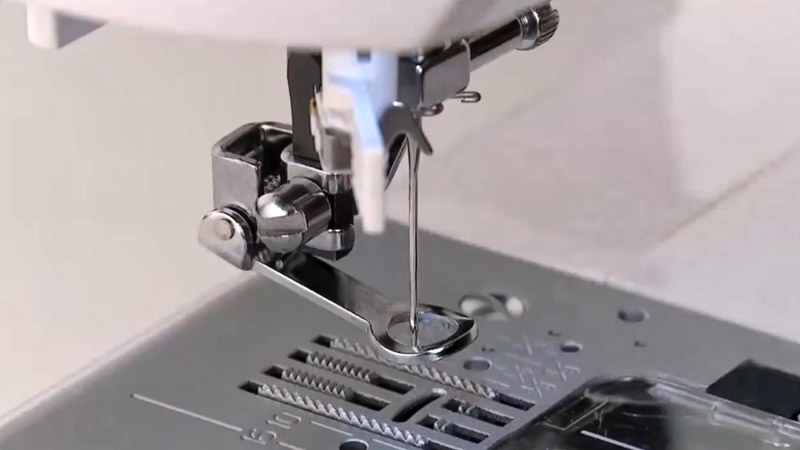
Before diving into free-motion embroidery, ensure that you have the correct foot for your sewing machine. The free-motion embroidery foot is distinguishable by its open-toe design, providing clear visibility of the needle and fabric.
Consult your machine’s manual to identify the compatible foot, or check with your machine’s manufacturer.
Lower the Feed Dogs
Feed dogs are the toothed mechanisms that move the fabric forward during regular sewing. For free-motion embroidery, you want to disable these feed dogs to allow complete control over the fabric movement.
Consult your sewing machine manual for instructions on lowering or covering the feed dogs, as the process may vary depending on the machine model.
Thread the Machine
Choose the thread color and type suitable for your embroidery design. Ensure proper threading of the machine, passing the thread through the free-motion foot if it has a guide.
Use a thread that complements your fabric and allows the stitches to stand out against the background.
Adjust Tension and Stitch Length
Proper tension is crucial for achieving clean and balanced stitches. Experiment with your machine’s tension settings until you achieve the desired results.
Additionally, set the stitch length to zero, as free-motion embroidery relies on the manual movement of the fabric without the assistance of the machine’s feed system.
Hooping the Fabric
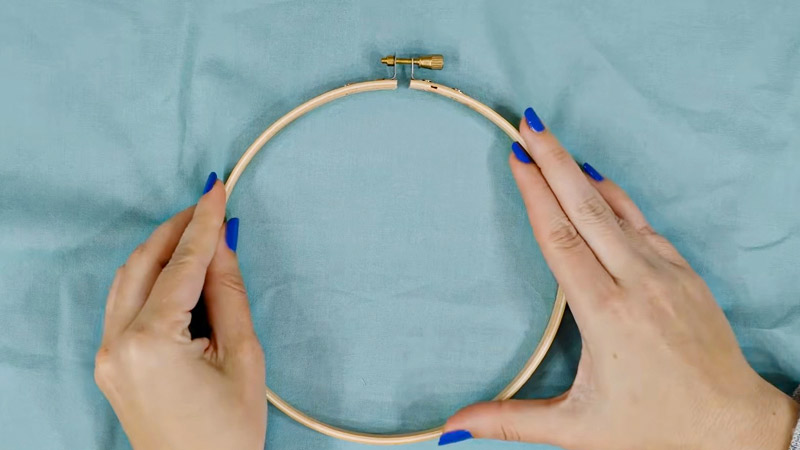
While traditional embroidery often involves hooping the fabric tightly, free-motion embroidery benefits from a more relaxed approach.
Use a hoop to keep the fabric taut but allow some freedom of movement. Ensure the fabric is secure but not overly stretched, which can impede the free-motion process.
Stabilize Your Fabric
To prevent distortion and ensure smooth stitching, consider stabilizing your fabric. Use tear-away or wash-away stabilizers suitable for your project.
Place the stabilizer beneath the fabric, providing additional support during the free-motion embroidery process.
Practice Control Movements
Before tackling your main project, practice controlling the fabric on a scrap piece with the free-motion foot.
Feel the foot’s responsiveness to your movements and experiment with different stitch speeds. Gradually build your confidence in guiding the fabric precisely.
Start Simple
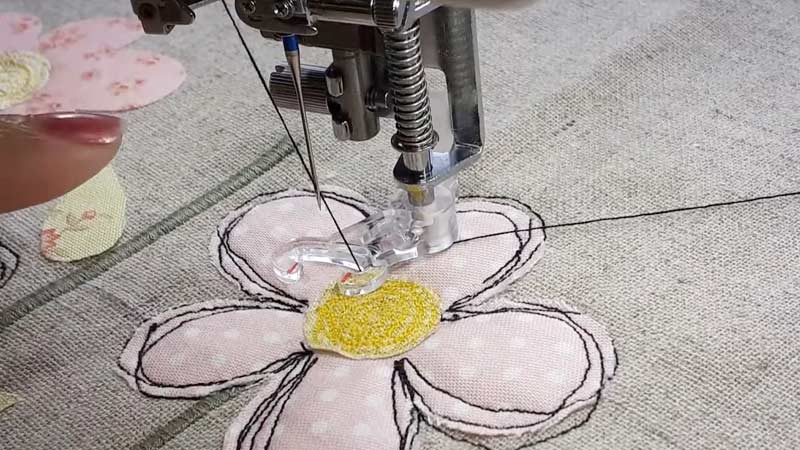
Begin your free-motion journey with uncomplicated designs. Simple shapes, loops, and swirls are excellent starting points to hone your skills. As you gain confidence, progressively introduce more intricate patterns and designs.
Experiment with Stitch Lengths
Free-motion embroidery allows you to vary stitch lengths dynamically. Experiment with different stitch lengths to create texture and dimension in your designs. Short stitches can add density, while longer stitches contribute to an open and airy feel.
Pivot and Maneuver
To change direction or navigate corners, practice lifting the free-motion foot slightly and pivoting the fabric. This technique is essential for seamless transitions between different elements of your design.
Tension Adjustments
If you encounter tension issues during free-motion embroidery, revisit your machine’s tension settings. Improper tension can result in thread breakage or uneven stitches. Make gradual adjustments until you achieve a balanced and smooth stitch quality.
Choose the appropriate needle for your fabric type and thread. A sharp, embroidery-specific needle is often recommended to ensure clean and precise stitching.
Secure the Ends
Once you’ve completed your free-motion embroidery design, secure the ends by tying off the threads or using a backstitch. This ensures that your beautiful creation remains intact over time.
Experiment and Explore
Free-motion embroidery is an art form that thrives on experimentation. Embrace the freedom to explore different techniques, stitches, and combinations to develop your unique style.
FAQs
Can I Use an Embroidery Foot on Any Sewing Machine?
Yes, in many cases, embroidery feet are designed to be compatible with various sewing machines. However, it’s crucial to check your sewing machine’s manual or consult the manufacturer to ensure that the embroidery foot you choose is suitable for your specific model.
Do I Need a Special Thread for Machine Embroidery?
While you can use regular sewing thread for machine embroidery, specialty embroidery threads are often recommended for optimal results. These threads are designed to withstand the additional tension and speed of embroidery work.
What Fabrics are Suitable for Machine Embroidery?
Machine embroidery can be done on various fabrics, from cotton and linen to denim and even leather. However, it’s essential to consider the density and type of design you plan to embroider. Delicate fabrics may require stabilizers, and denser designs are for heavier materials.
Can I Use an Embroidery Foot for Regular Sewing?
Yes, you can use an embroidery foot for regular sewing tasks. While it’s specifically designed for embroidery work, its open-toe design provides better visibility, making it suitable for decorative stitches, appliqué, and other sewing applications.
Can You Embroider with a Regular Sewing Machine?
Yes, you can embroider with a regular sewing machine using an embroidery foot. While dedicated embroidery machines offer more advanced features, many sewing machines come with embroidery capabilities. Attaching an embroidery foot and lowering the feed dogs create beautiful embroidered designs.
Conclusion
The choice between using an embroidery foot and going without one is a decision that echoes throughout your sewing journey.
The enhanced control, accuracy, and finesse the embroidery foot offers are invaluable in transforming your creative vision into a tangible masterpiece.
As we’ve explored, this small attachment opens up a realm of possibilities for crafting intricate designs and working with delicate fabrics.
Whether you’re a seasoned embroiderer or just starting on your sewing adventure, incorporating the embroidery foot into your toolkit is a step toward achieving professional-level results.
So, embrace the precision, revel in the seamless stitches, and let your embroidery projects flourish with the added touch of meticulous craftsmanship that an embroidery foot provides.
Elevate your sewing experience and witness the transformative power of this simple yet indispensable tool. Go ahead and unlock the secrets of precision in embroidery with the use of an embroidery foot.
Leave a Reply